1964 impala headlamp…

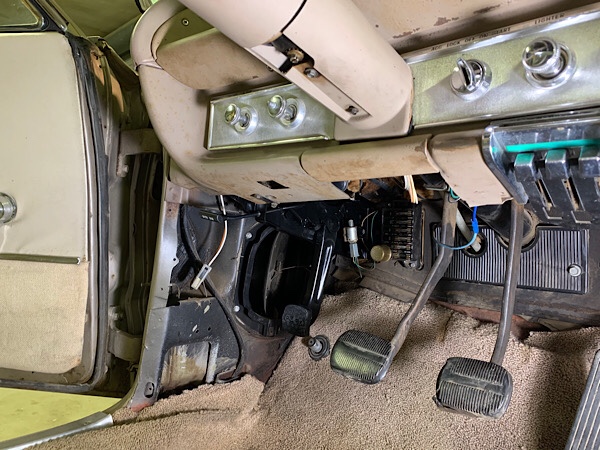
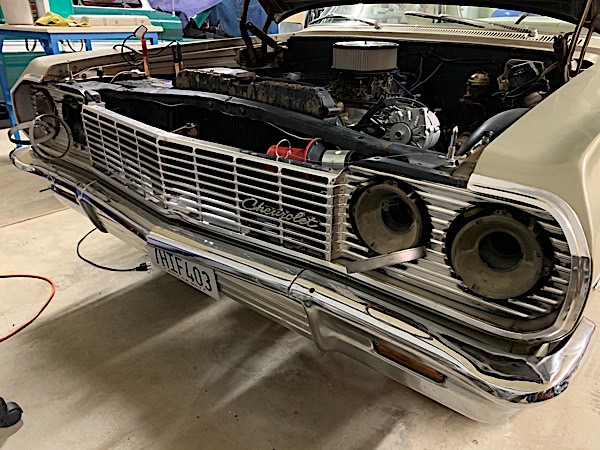
The low beam headlamps did not work properly. The only time you get any headlamp illumination was by pressing down and engaging the high beams foot button. This of course is all jacked up since it means the high beam circuit had to be tampered with.

After some time for troubleshooting I was able to find out the previous owner(s) had tapped into the high beam circuit. One of the low beam lights was actually bad too.

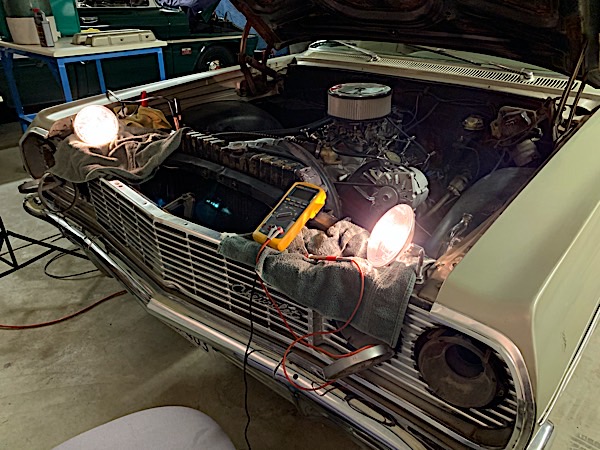
In any case we have functioning head lamps when “La Bamba” goes on the night cruising action.

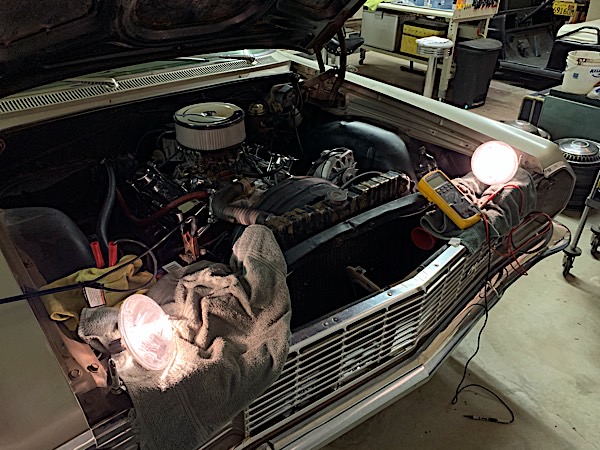
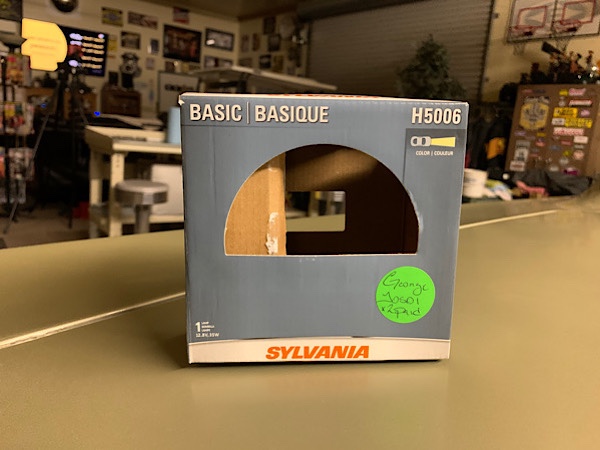
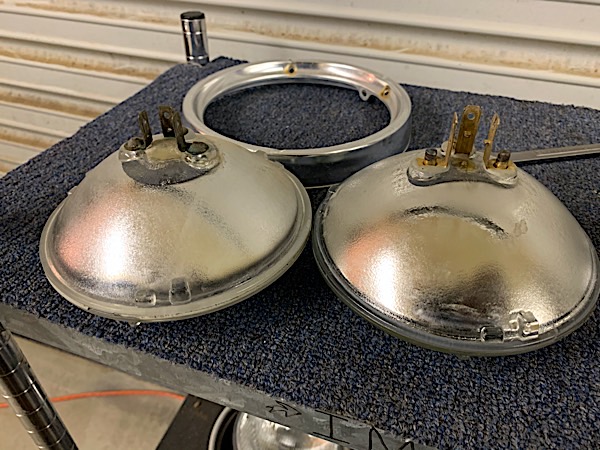
I know somewhere down the road I’ll be asking myself what headlamp did I purchase before that worked with the Impala. This is a reference photo.

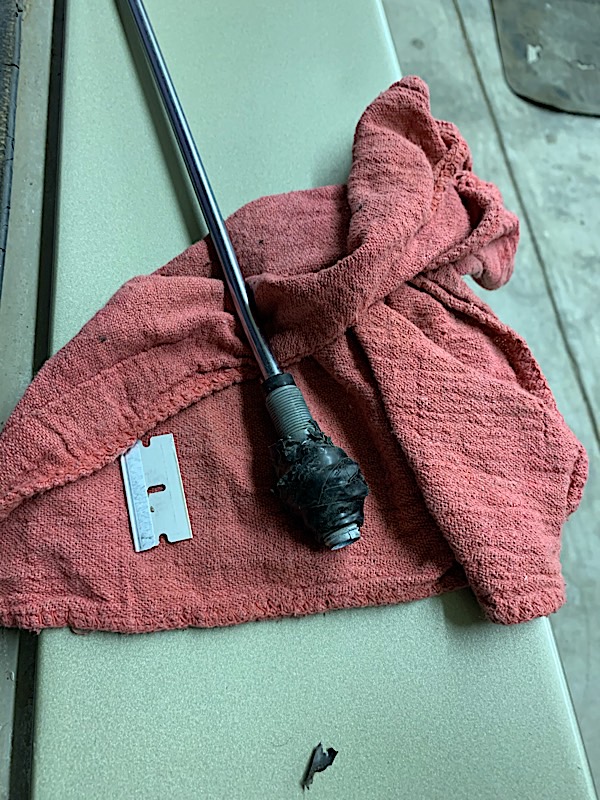
One note, the three spades had to filed down on both edges. This allowed less pressure in the existing female connector. I also grabbed a couple universal connectors and these had a wider receptacle opening. The bad thing about these spades they are not weather resistant like the originals. The negative with the newer headlamp are the spade length. These do not sit down flush like the older headlamps. There is a gap that will need to be addressed with by weather resistant tape or applying some sort of RTV to prevent metal to ground contact.

1964 impala – antenna…

The rear passenger side antenna seemed loose and not very sturdy. After checking it out I discovered that part of the base was missing. This is the piece that would normally be located inside the trunk area supporting the upper angled base.

The “fix” was a glob of electrical tape acting as a base and spacer underneath the sheet metal.

1964 Impala – trailer hitch…

One of the first thing I noticed about the Impala backside was this freakin’ tow hitch. I had thought who would put something like this on a classic ride.

After looking at the setup from below I can tell this wasn’t a hack job. By the amount of surface discoloration and rusting this rig has been on for a good long time. That’s when it dawned on me that folks back then would probably use whatever vehicles they had. Most families probably didn’t have multiple vehicles like a truck and at that time it wasn’t considered a classic car at all.

Photo taken before I got the shop vac action going. You can see the tow hitch electrical wiring set just below towards the bottom of the picture.

1964 Impala – wheels…

I went over to my neighbors up the hill, I call it the “compound”. He has the proper tire equipment to remove the funky ass worn rubber tires from the rims. It took about 20 minutes or less to remove the old rubber.

The Compound Commander has every freakin’ tool you need to work on cars, truck or motorcycles. He’s a former car racer so he knows his shit very well.

Found out that one of the rims was not the same size as the other three. The single widest rim is 14×6″ which means the others are less wide and must look hell of skinny when mounted.

Hubcaps are in bad shape. I’ll be hunting down a set later on down the line.

All this effort because of the goofy looking 1994-1997 S10 truck wheels that are on the La Bamba now. sometimes I look at it and it doesn’t bother me, other times it looks ridiculous.

I think the safe bet is to go with either traditional steelies or the era correct street rod look.

1964 Impala – Emergency Brake…

I received the replacement emergency brake assembly from Classic Industries. This particular online seller had the part in stock and able to ship it immediately.

The replacement emergency brake assembly didn’t come with a parking brake switch so I removed the original part, sanded it down and sprayed a coat of gloss black paint to match the new assembly.

Only one side of the switch is painted.
Perfect match.

Once I figured out the proper orientation the parking brake switch lever needed to be for re-installation it was much easier connecting the cable back into the slotted carrier position.

Parking brake assembly back in place.

Lorraine’s 60th Birthday!

Day # 2, we all had a good night sleep from being so active yesterday. I think having a mondo dinner contributed to our deep slumber.

The plan is to head over to the beach area closer to cannery row and walk along the ocean. We are going to be brining the fur balls.

Lorraine’s 60th Birthday!…

Day # 1, we are heading out for the coast today. We got a place in Pacific Grove California called Sea Breeze Cottages and Inn. Lorraine is super excited!

First Pitstop at the Santa Nella area. Plenty of places to grub, let’s the dogs do their thing and stretch out our legs.

We checked into our home for the next few days. After a resting a bit headed down to the coastline. It’s less than a few blocks from our spot.

Beach bound..

We made it to the beach and started walking along the coastline. The weather was perfect and the California fires smoke didn’t affect the quality.

Mami enjoying our walk, cool ocean breeze. We pretty much had this whole area to ourselves since most of the people visiting stayed up on the paved sidewalk area.

Serenity and Jaxson did super good throughout the day. Jaxson was his normal “I need to protect us from evil villains” self but we are used to it. Hopefully as we do this more often and he’s around other dogs and people he will outgrow this need. For now, these two were playing around the rock and water like a couple kids.

Both of these guys didn’t mind the water or getting wet.

Exhausted from there first time traveling on a long road trip and staying in a hotel. They’re definitely brother and sister.

Pooped out.

The day ended with a take out meal from one of the local restaurants in town. I had the family sized shrimp pizza which was hell of delicious and the birthday girl had a master seafood dish with salmon.

We’ve eaten at this place before. Of course it was in dining instead of take out.

1964 Impala Parking Brake…

The parking brake assembly foot pedal doesn’t stay in engaged when in use. The rear brakes and cabling are functioning correctly as it is able to lock the rear drums brakes from rotating. Removing the complete assembly is simple. Three nuts and removing the parking brake cable is all it takes.

Parking brake assembly

It turns out there is a small spring shown in the picture that connects one side to a “hole” and the other side of the spring to a locking lever. The part of the spring that is secured to the locking lever has disengaged.

So far, I can’t see any hole or area that the spring can be attached to the lever. I’m hoping no metal has worn or broken off. The lever does work if you manually position the angle to lock into the gear teeth. The brake release is working properly.

While under the dash I had a clear view of the fuse box. I discovered one of those ghetto fixes you wish you never see any car or truck. The previous owner wrapped a blown 2.5 amp fuse with either a bubble gum wrapper or a piece of aluminum foil. I’ve worked on many cars and have never actually seen this type of “fix” done.

Ghetto fuse bypass fix.