I need to work on the Impalas stance. Since it’s going to be static I need figure out the components I’m going to use.
The rear has an air shock which I believe is a Monroe brand that is available at any local parts store. I don’t know if the previous owner did the installation but it was mentioned that he wanted to at some point haul around a trailer. I air shocks would make sense for this application.
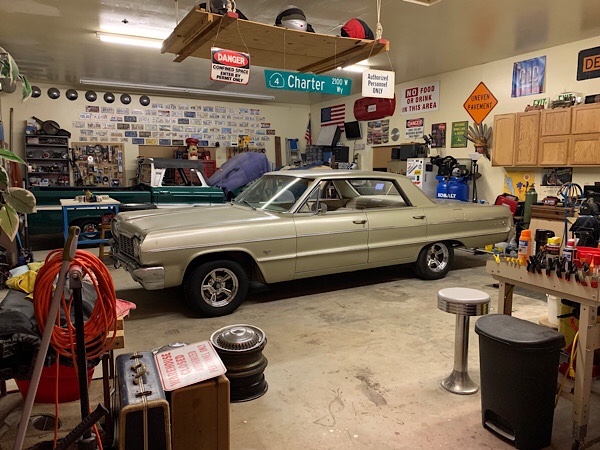
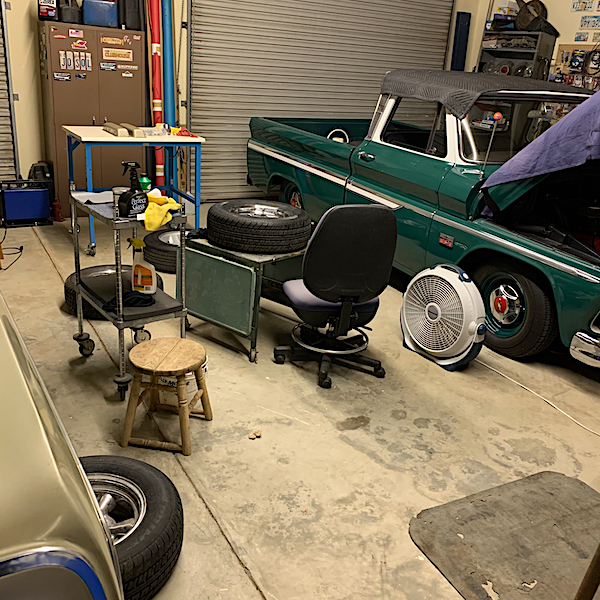
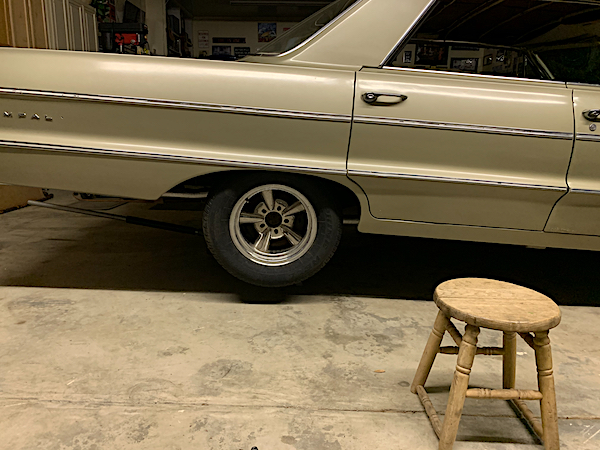
La Bamba has the stance of a gasser.
This photo is taken with the 14” Supremes and the air shocks with no air. The air valve had an extender going through the rear bumper and it had snapped the main inlet valve, this dumped all the air out.
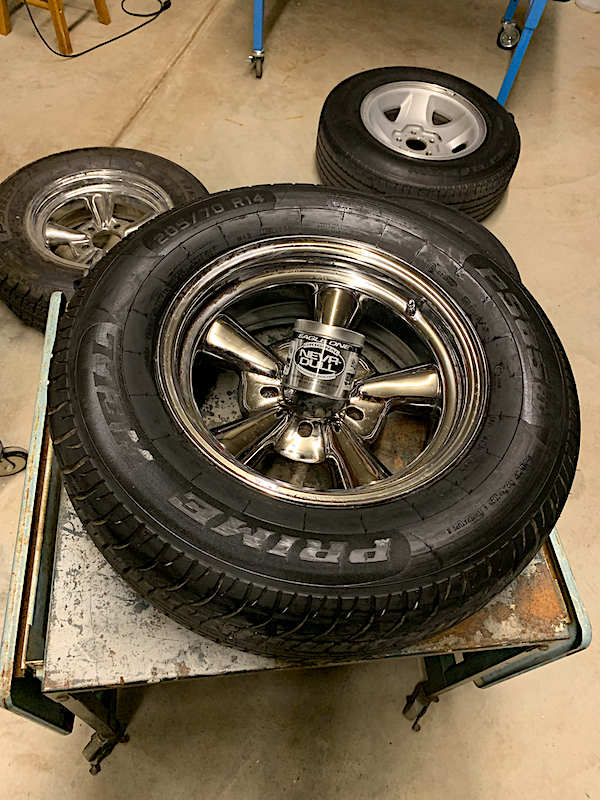
Center caps on order, should be in next week.
I’ll be heading to the local auto parts store for a replacement inlet valve. Once I get the minimum shock required air volume I’ll set the stance. I believe the minimum air is 25psi and the maximum is 200psi. I’ll also include the model number once it is confirmed.
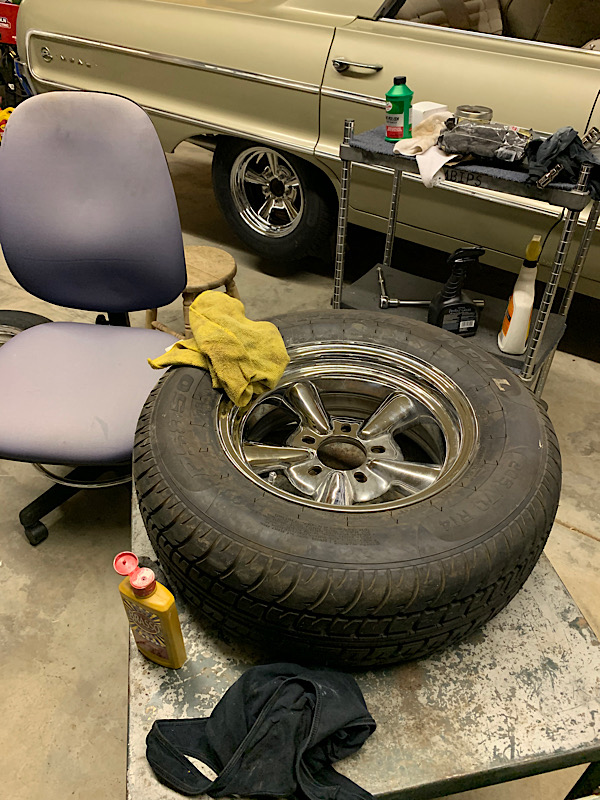
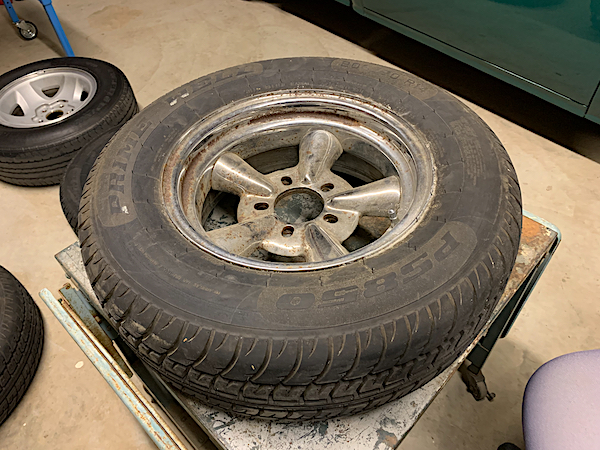
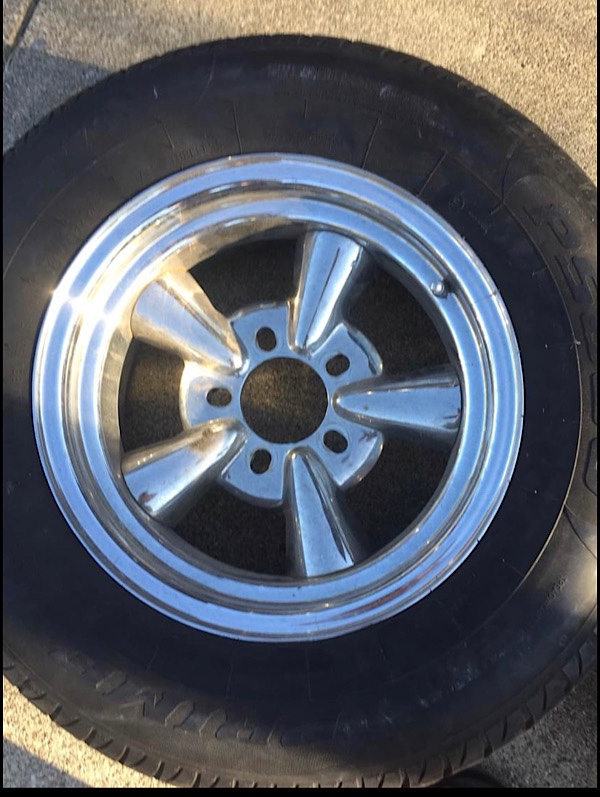
Finished up as much I could on the first wheel. This particular wheel had the worst rust damage of the set. Working on the 2nd wheel which was a breeze compared to the first one.
To get better results I used steel wool #0000. I had tried the heavier version #000 as recommended by a lot of folks on the internet but it seemed to be too abrasive and leaving a light scratch. Maybe it was the lighting or my imagination but I didn’t want to risk scuffing or scratching these rims. The lighter grade works fine, just needs a little more elbow grease.
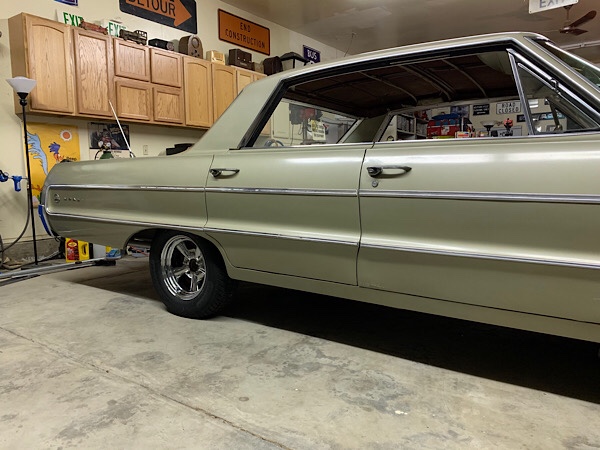
It was a definitely a relief mounting the first wheel on with the lugs I got. I knew the wheel was the correct size and wheel pattern. One note, the lug nuts that were used to mount the funky S10 wheels were the stock 1/2” lug nuts that barely had enough reach around the 7/16” studs. I would consider it a safety issue as the there was not a flat surface for the lug nut to seat on.
Another interesting issue I ran across was the actual removal of the rear tires. These were so wide and tall they could not be removed easily. I had to release the air pressure on the tire and use the jack to lift the car a little higher for clearance.
Started bring the these old OG Supremes back to life. I’m starting off with the worst of the bunch.
I was able to get quite a bit of the rust removed using “Never Dull”. I’ve been using this stuff since I first starting messing with classics. Rust is ALWAYS and issue with 50+ years rides but there is no substitute from using good old elbow grease.
Applied a little Armor All to give it a cleaner effect. My spot in the shop for the next week or so.
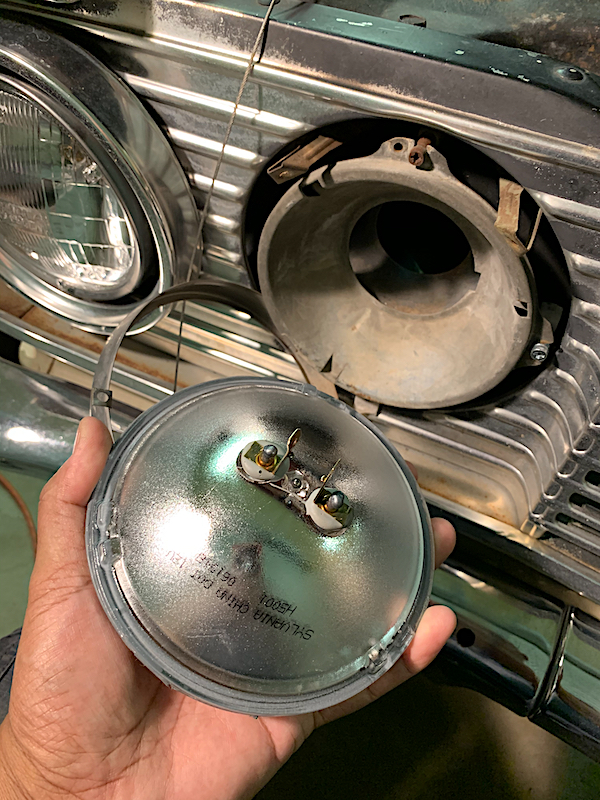
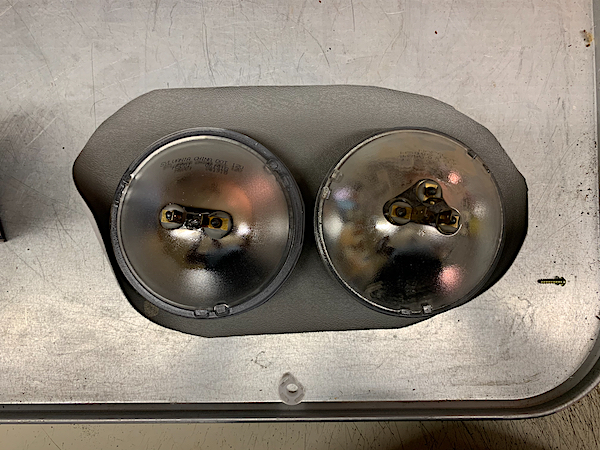
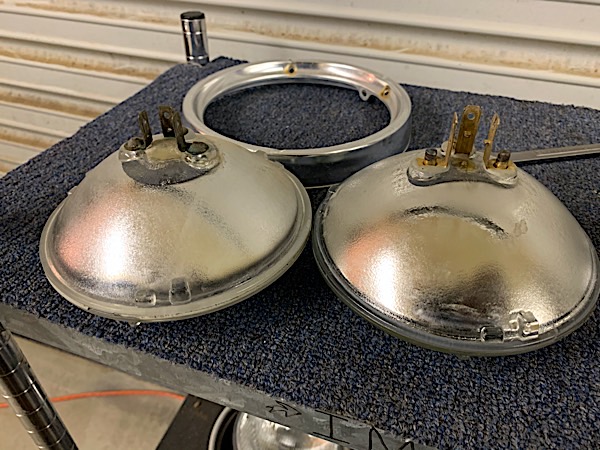
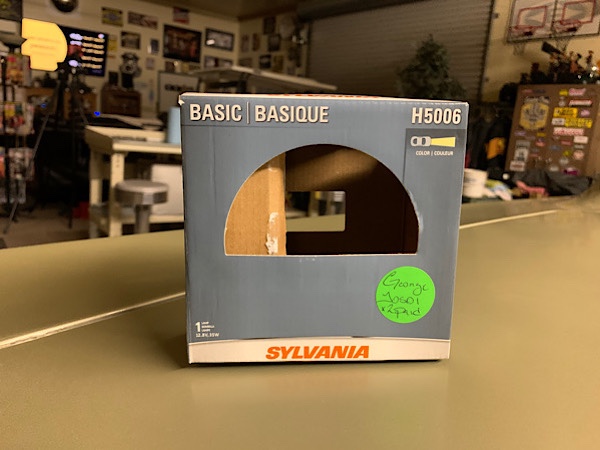
I picked up the proper high beam headlamps and fitted each into the bucket assembly. I selected the Sylvania H5001 model. This part is normally a stocked item at the local automotive parts store.
There are a two major difference between the low and high beam lamps. The high beam only uses two prongs. The connection to the high beam lamp is the proper 2 prong wiring. The connector can be oriented in any direction.
If you look closely the glass tabs and notched retaining ring are slightly different between a low and high beam bulb. This is why you can interchange the two and the proper bulb should be used for installation.
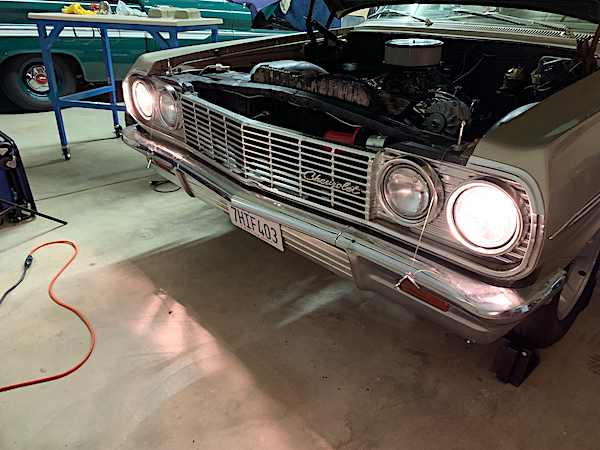
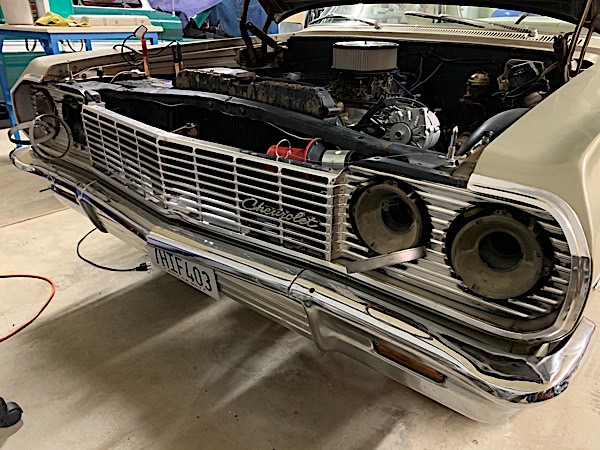
The low beam headlamps are now functioning as they should. I still need to order replacement tabs that secure the bottom section of the bezel to the grill. All four tabs were broken and missing.
I drove over to Vacaville after work to pickup the Supreme rims and tires. It’s not too far from work but a good distance from the Manetarium.
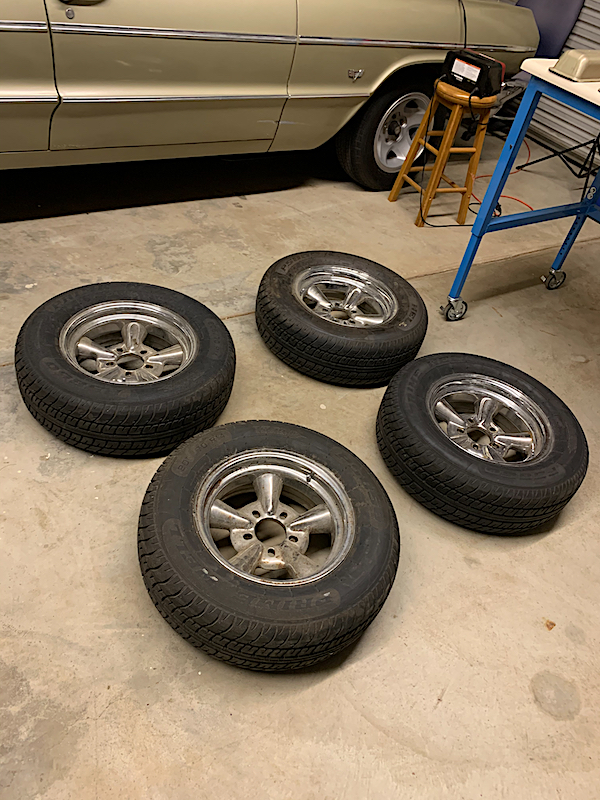
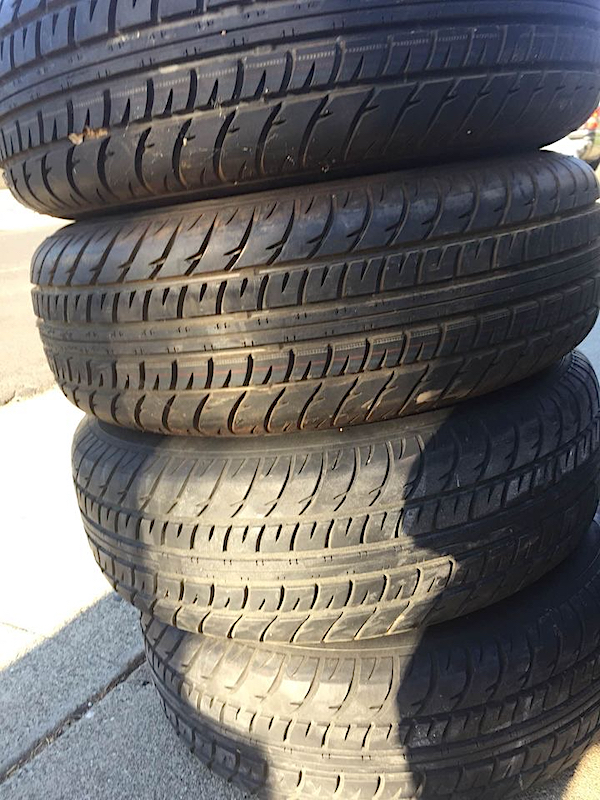
The wheels were in the condition the previous had disclosed. No unexpected surprises. One rim has a lot of rust that needs to be addressed, I think I’ll be able remove most of it. The rims are in very good shape. All four tires are in new condition tread wise and doesn’t have any compound hardness of being only 3 years old.
These wheels came off an early Ford Falcon build. The previous owner purchased the set thinking it would fit. Even though he was able to get them mounted the wheel wells were rubbing the outer side of the tire.
These uses a -12mm offset so this probably contributed to his issues. Also, if he was running disc brakes that may have pushed the whole wheel too far out. I’m running stock drums all the around so I figured I’d have enough clearance even with the negative offset.
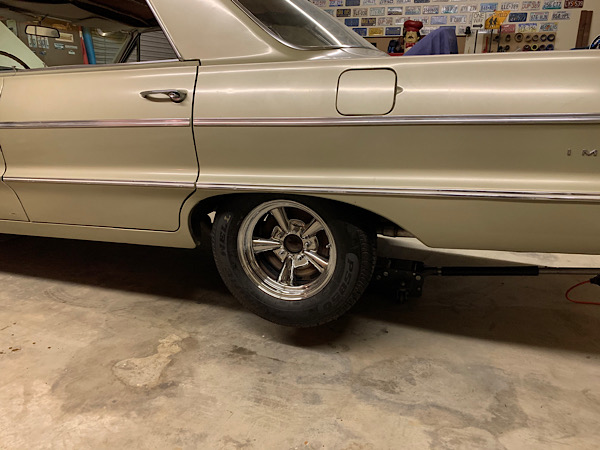
I tested out rear wheel fitment and there is plenty of room at least jacked up in the air. The S10 wheel I removed is larger with a size of 205/75/15. The tire I have now are 205/70/14’s.
Plenty of tread life left on these tires.
One note, the lug nuts I got from the owner will not work. These are for the larger Ford Falcon studs he was using. I have the stock 7/16” fine thread studs. I will need to purchase a set of lug nuts for this application.
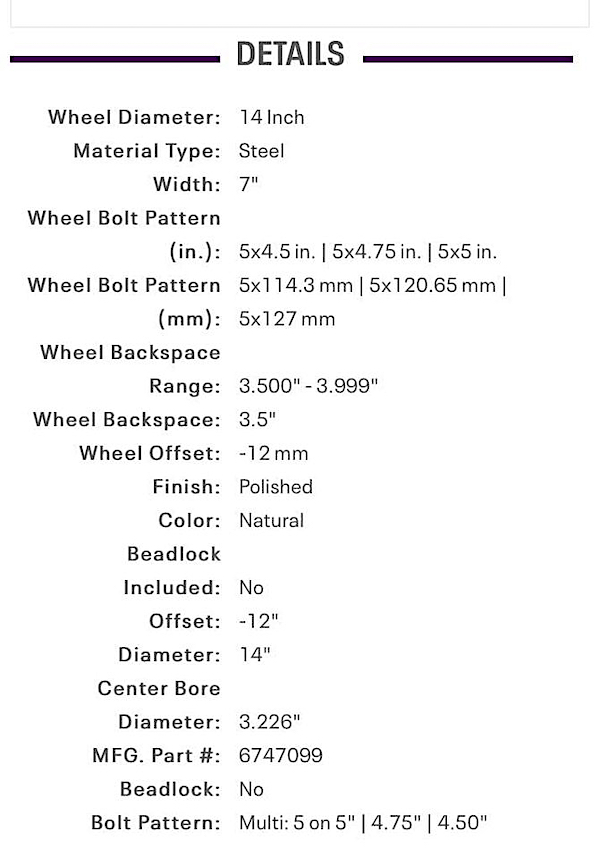
In case I need to look up my wheel specifications I have it on my blog for convenience.
I have a line on a set of Old school Supremes. Hopefully I can make the deal work out. One of the wheels are rusted out but I’ll see about finding a replacement.
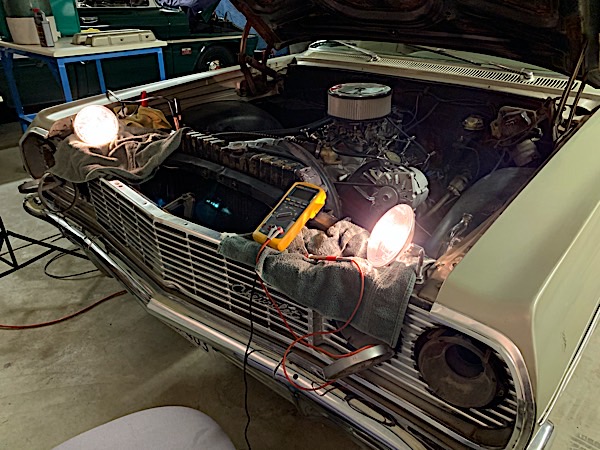
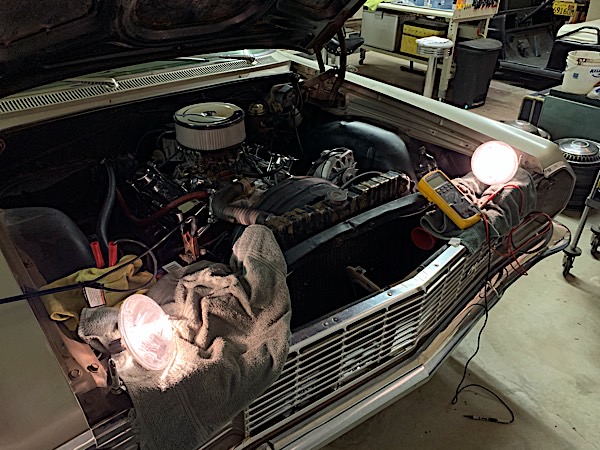
The low beam headlamps did not work properly. The only time you get any headlamp illumination was by pressing down and engaging the high beams foot button. This of course is all jacked up since it means the high beam circuit had to be tampered with.
After some time for troubleshooting I was able to find out the previous owner(s) had tapped into the high beam circuit. One of the low beam lights was actually bad too.
In any case we have functioning head lamps when “La Bamba” goes on the night cruising action.
I know somewhere down the road I’ll be asking myself what headlamp did I purchase before that worked with the Impala. This is a reference photo.
One note, the three spades had to filed down on both edges. This allowed less pressure in the existing female connector. I also grabbed a couple universal connectors and these had a wider receptacle opening. The bad thing about these spades they are not weather resistant like the originals. The negative with the newer headlamp are the spade length. These do not sit down flush like the older headlamps. There is a gap that will need to be addressed with by weather resistant tape or applying some sort of RTV to prevent metal to ground contact.
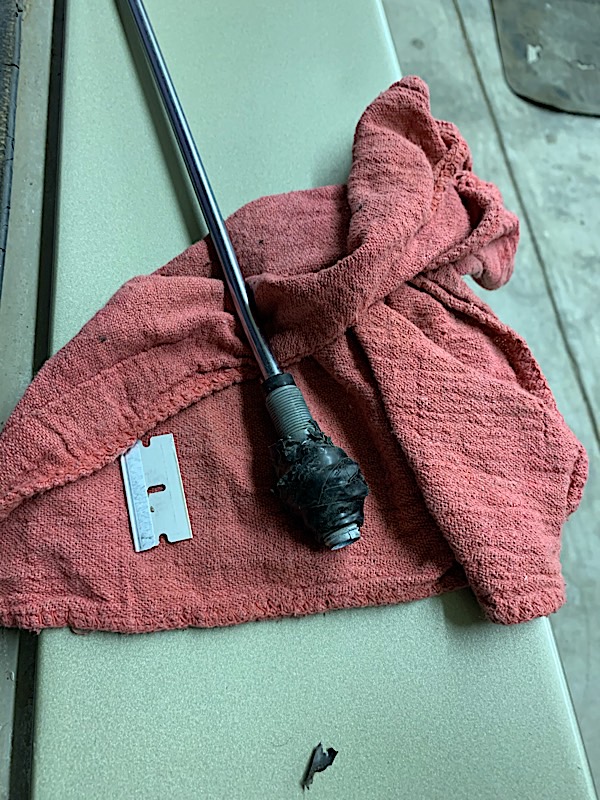
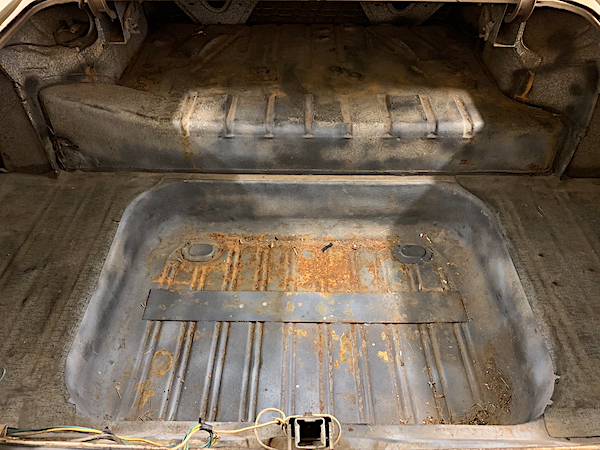
The rear passenger side antenna seemed loose and not very sturdy. After checking it out I discovered that part of the base was missing. This is the piece that would normally be located inside the trunk area supporting the upper angled base.
The “fix” was a glob of electrical tape acting as a base and spacer underneath the sheet metal.
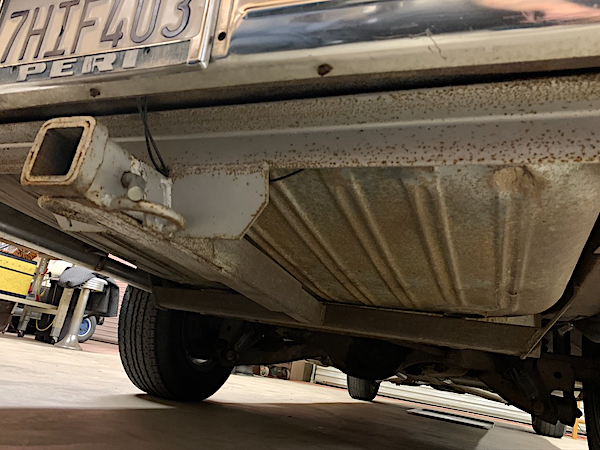
One of the first thing I noticed about the Impala backside was this freakin’ tow hitch. I had thought who would put something like this on a classic ride.
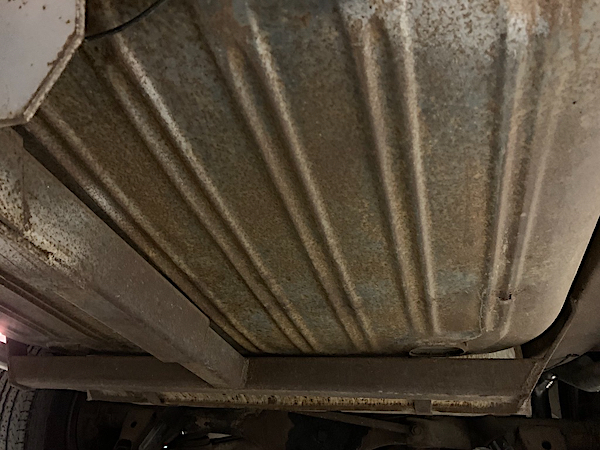
After looking at the setup from below I can tell this wasn’t a hack job. By the amount of surface discoloration and rusting this rig has been on for a good long time. That’s when it dawned on me that folks back then would probably use whatever vehicles they had. Most families probably didn’t have multiple vehicles like a truck and at that time it wasn’t considered a classic car at all.
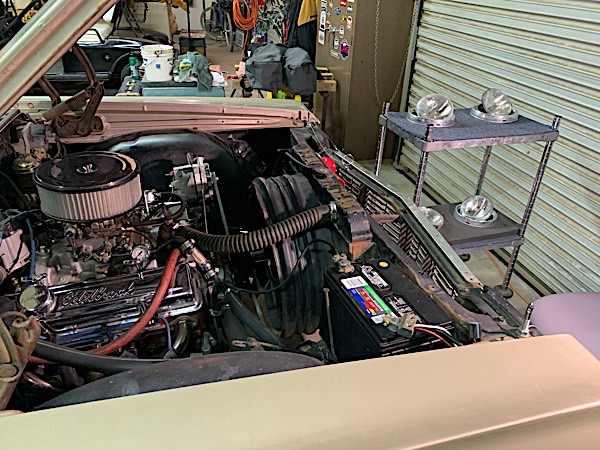
Photo taken before I got the shop vac action going. You can see the tow hitch electrical wiring set just below towards the bottom of the picture.
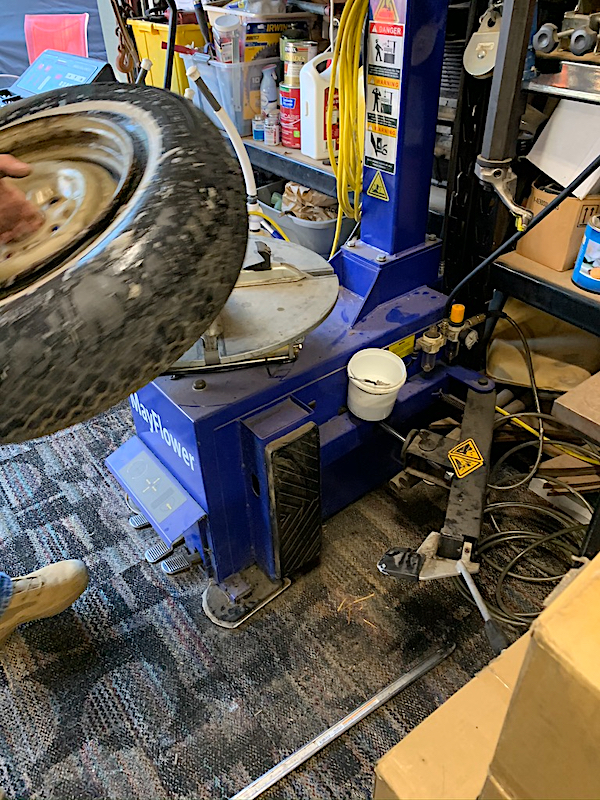
I went over to my neighbors up the hill, I call it the “compound”. He has the proper tire equipment to remove the funky ass worn rubber tires from the rims. It took about 20 minutes or less to remove the old rubber.
The Compound Commander has every freakin’ tool you need to work on cars, truck or motorcycles. He’s a former car racer so he knows his shit very well.
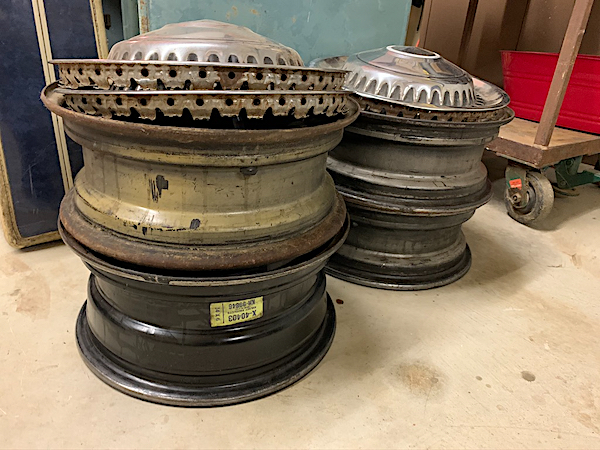
Found out that one of the rims was not the same size as the other three. The single widest rim is 14×6″ which means the others are less wide and must look hell of skinny when mounted.
Hubcaps are in bad shape. I’ll be hunting down a set later on down the line.
All this effort because of the goofy looking 1994-1997 S10 truck wheels that are on the La Bamba now. sometimes I look at it and it doesn’t bother me, other times it looks ridiculous.
I think the safe bet is to go with either traditional steelies or the era correct street rod look.