I had this very annoying exhaust leak since I got the car a couple of weeks ago. It sounded like a tapping lifter or exhaust leak. I used a piece of heater hose about 3 long as a listening device. I had one end to my ear and the other probing the motor as it was running. If you use this method remember to mark one end of the hose with a piece of tape so that it’s the side you use all the time. After extended use the other end will pick up oil that will be transferred to the side of your head 🙂
It was obvious that the ticking sound was coming from the driver side. After probing around I found it to be in the area between cylinder number 5 and 7. I tried to tighten down the area but the leak was still loud with no change.
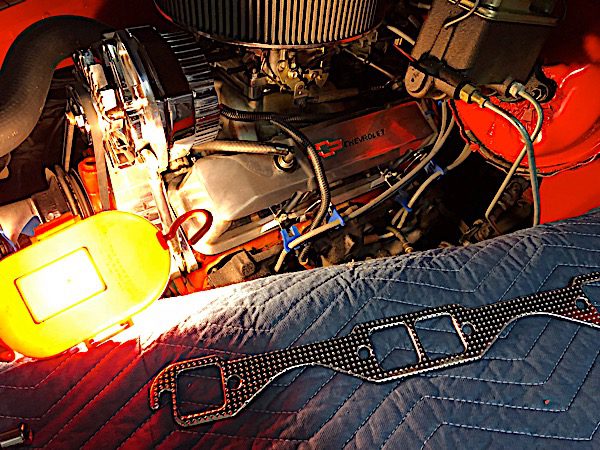
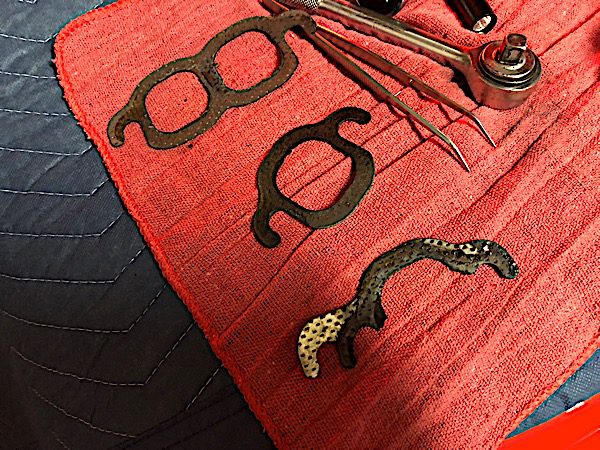
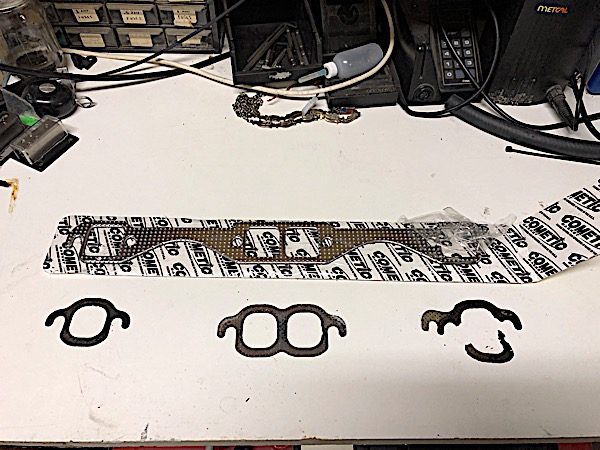
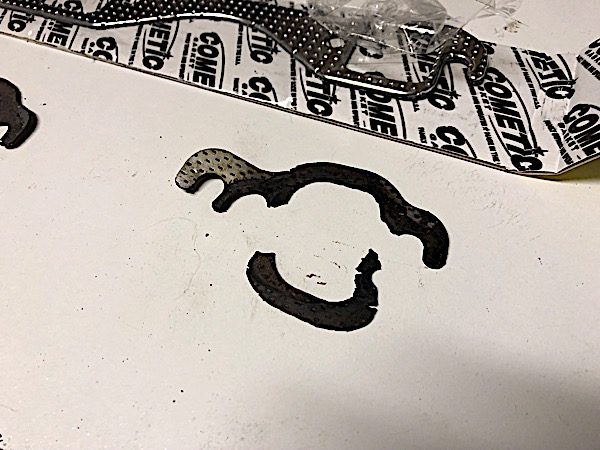
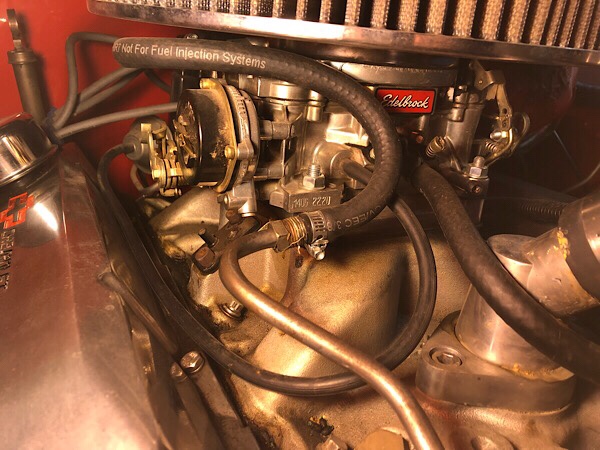
I purchased a couple of gasket for replacement. I bought two types a single large piece and the cheap individual port type which turned out to be the version that was already installed.
These older motors are cast iron and back in the day a gasket wasn’t even used. The heads and exhaust manifolds were true and no gasket was needed. After time the machined parts would warp and imperfections would arise. If I was to do this work to original specification I would pull out the manifold and have it machined. If that didn’t fix it the head would have to removed. For an exhaust leak, I chose the cheaper and easier fix using a gasket.
I’m just glad the ticking sound was a simple fix and not a failure that would cost more time and money. My next thought was a loose valve stem and that would have required more work.
Once the project was complete it didn’t change the look of the motor too bad. If you knew to look for it you can see the bright gasket material. At least you didn’t hear that annoying tick anymore.
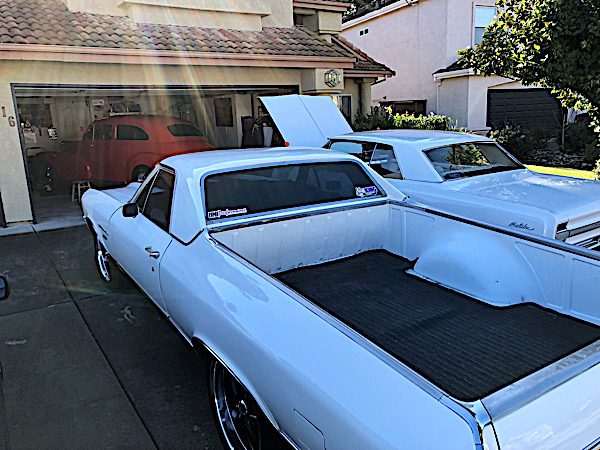
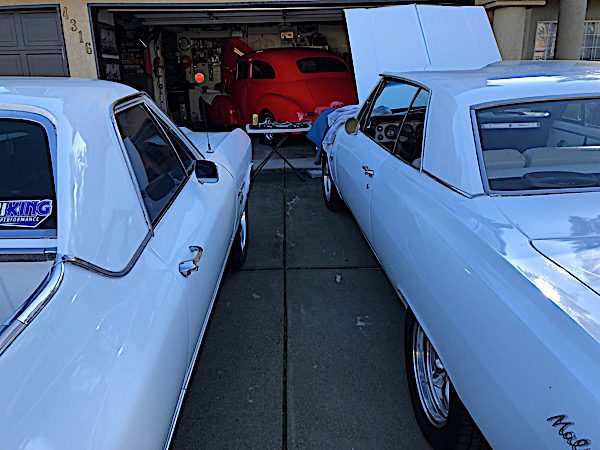
Worked on several projects with the fellas today. Activity for a 1948 Fleetline Coupe, 1948 Fleetline Aerosedan and a 1964 Chevy Chevelle.
I have most of the tools to perform common mechanical repairs that are not lengthy in repair time. I don’t have the room inside the garage to do a full blown out motor removal and still be able to have both my classic inside at the same time. This rules out major motor work unless I plan to have one of the cars out overnight.
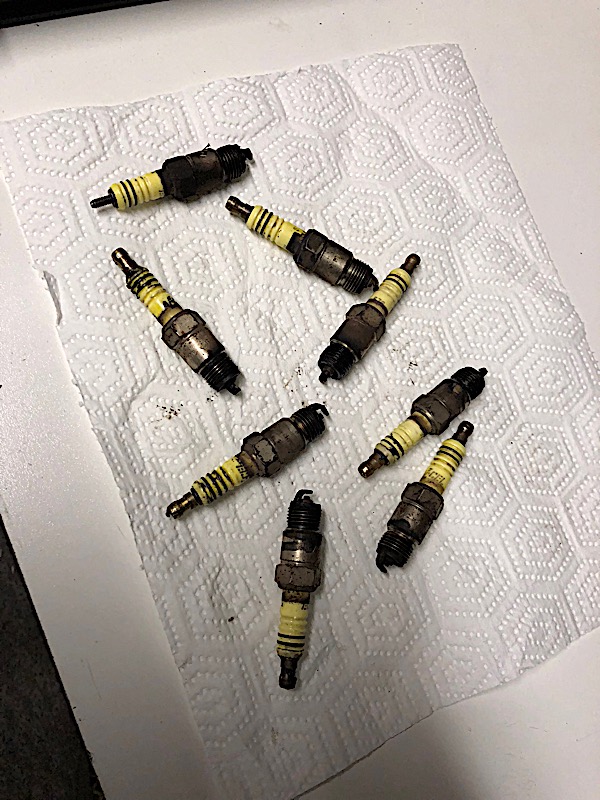
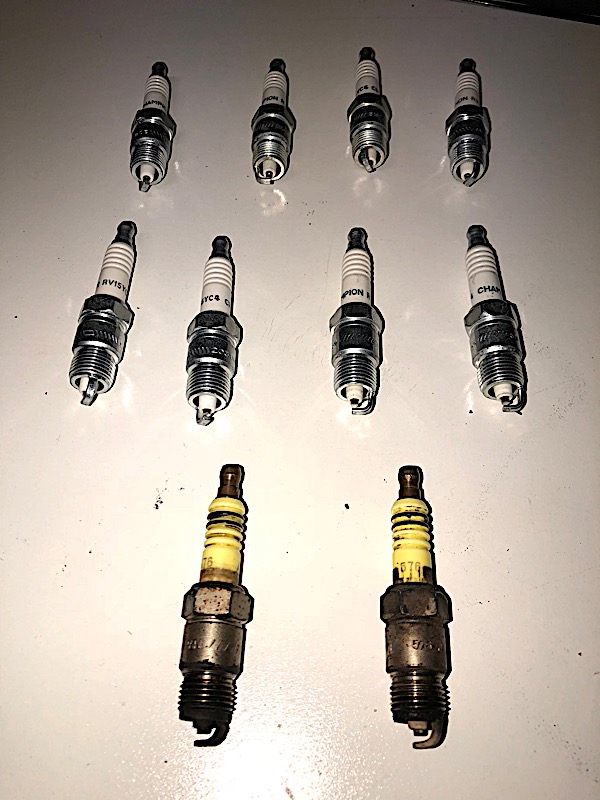
Tonight’s project was removing the spark plugs and installing 8 new Champion replacements.
A few of them were very loose and just barely tightened down. The harder part was removing the plug boots which seems to be glued on! After messing with each one for a while I was able to remove them all.
I’ll have a baseline reference point to see what the plugs do under load. On the drivers side #1 was running lean, #7 was oil fouling. For historical purposes the spark gap was set to 0.045″ this was comparable to what I measured on the pulled plugs too. The brand was Champion the previous plugs were Accel brand.
Should be interesting after a hundred miles or so.
I’m going to work on my 48′ Chevy carburetor today. The model is a Edelbrock 1604, electric choke that is not currently wired up for some odd reason. I’ll be doing that part of the repair first.
Getting ready to start off another year of tinkering and restorations. My goal is to keep the cars long enough to enjoy them longer. In the past three years I’ve had 14 different cars and motorcycles. That’s a lot of repairs on issues people did not want to spend the money on repairing.
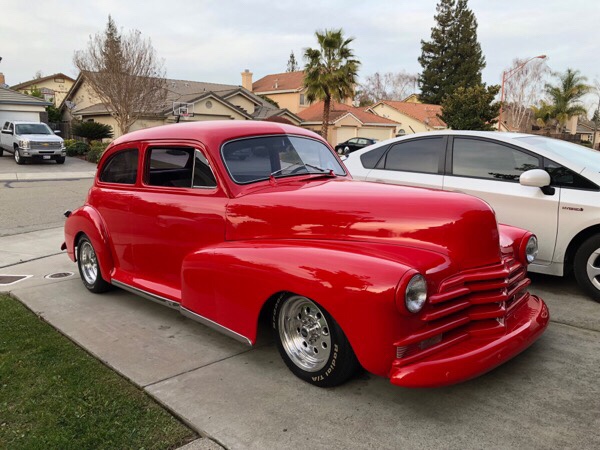
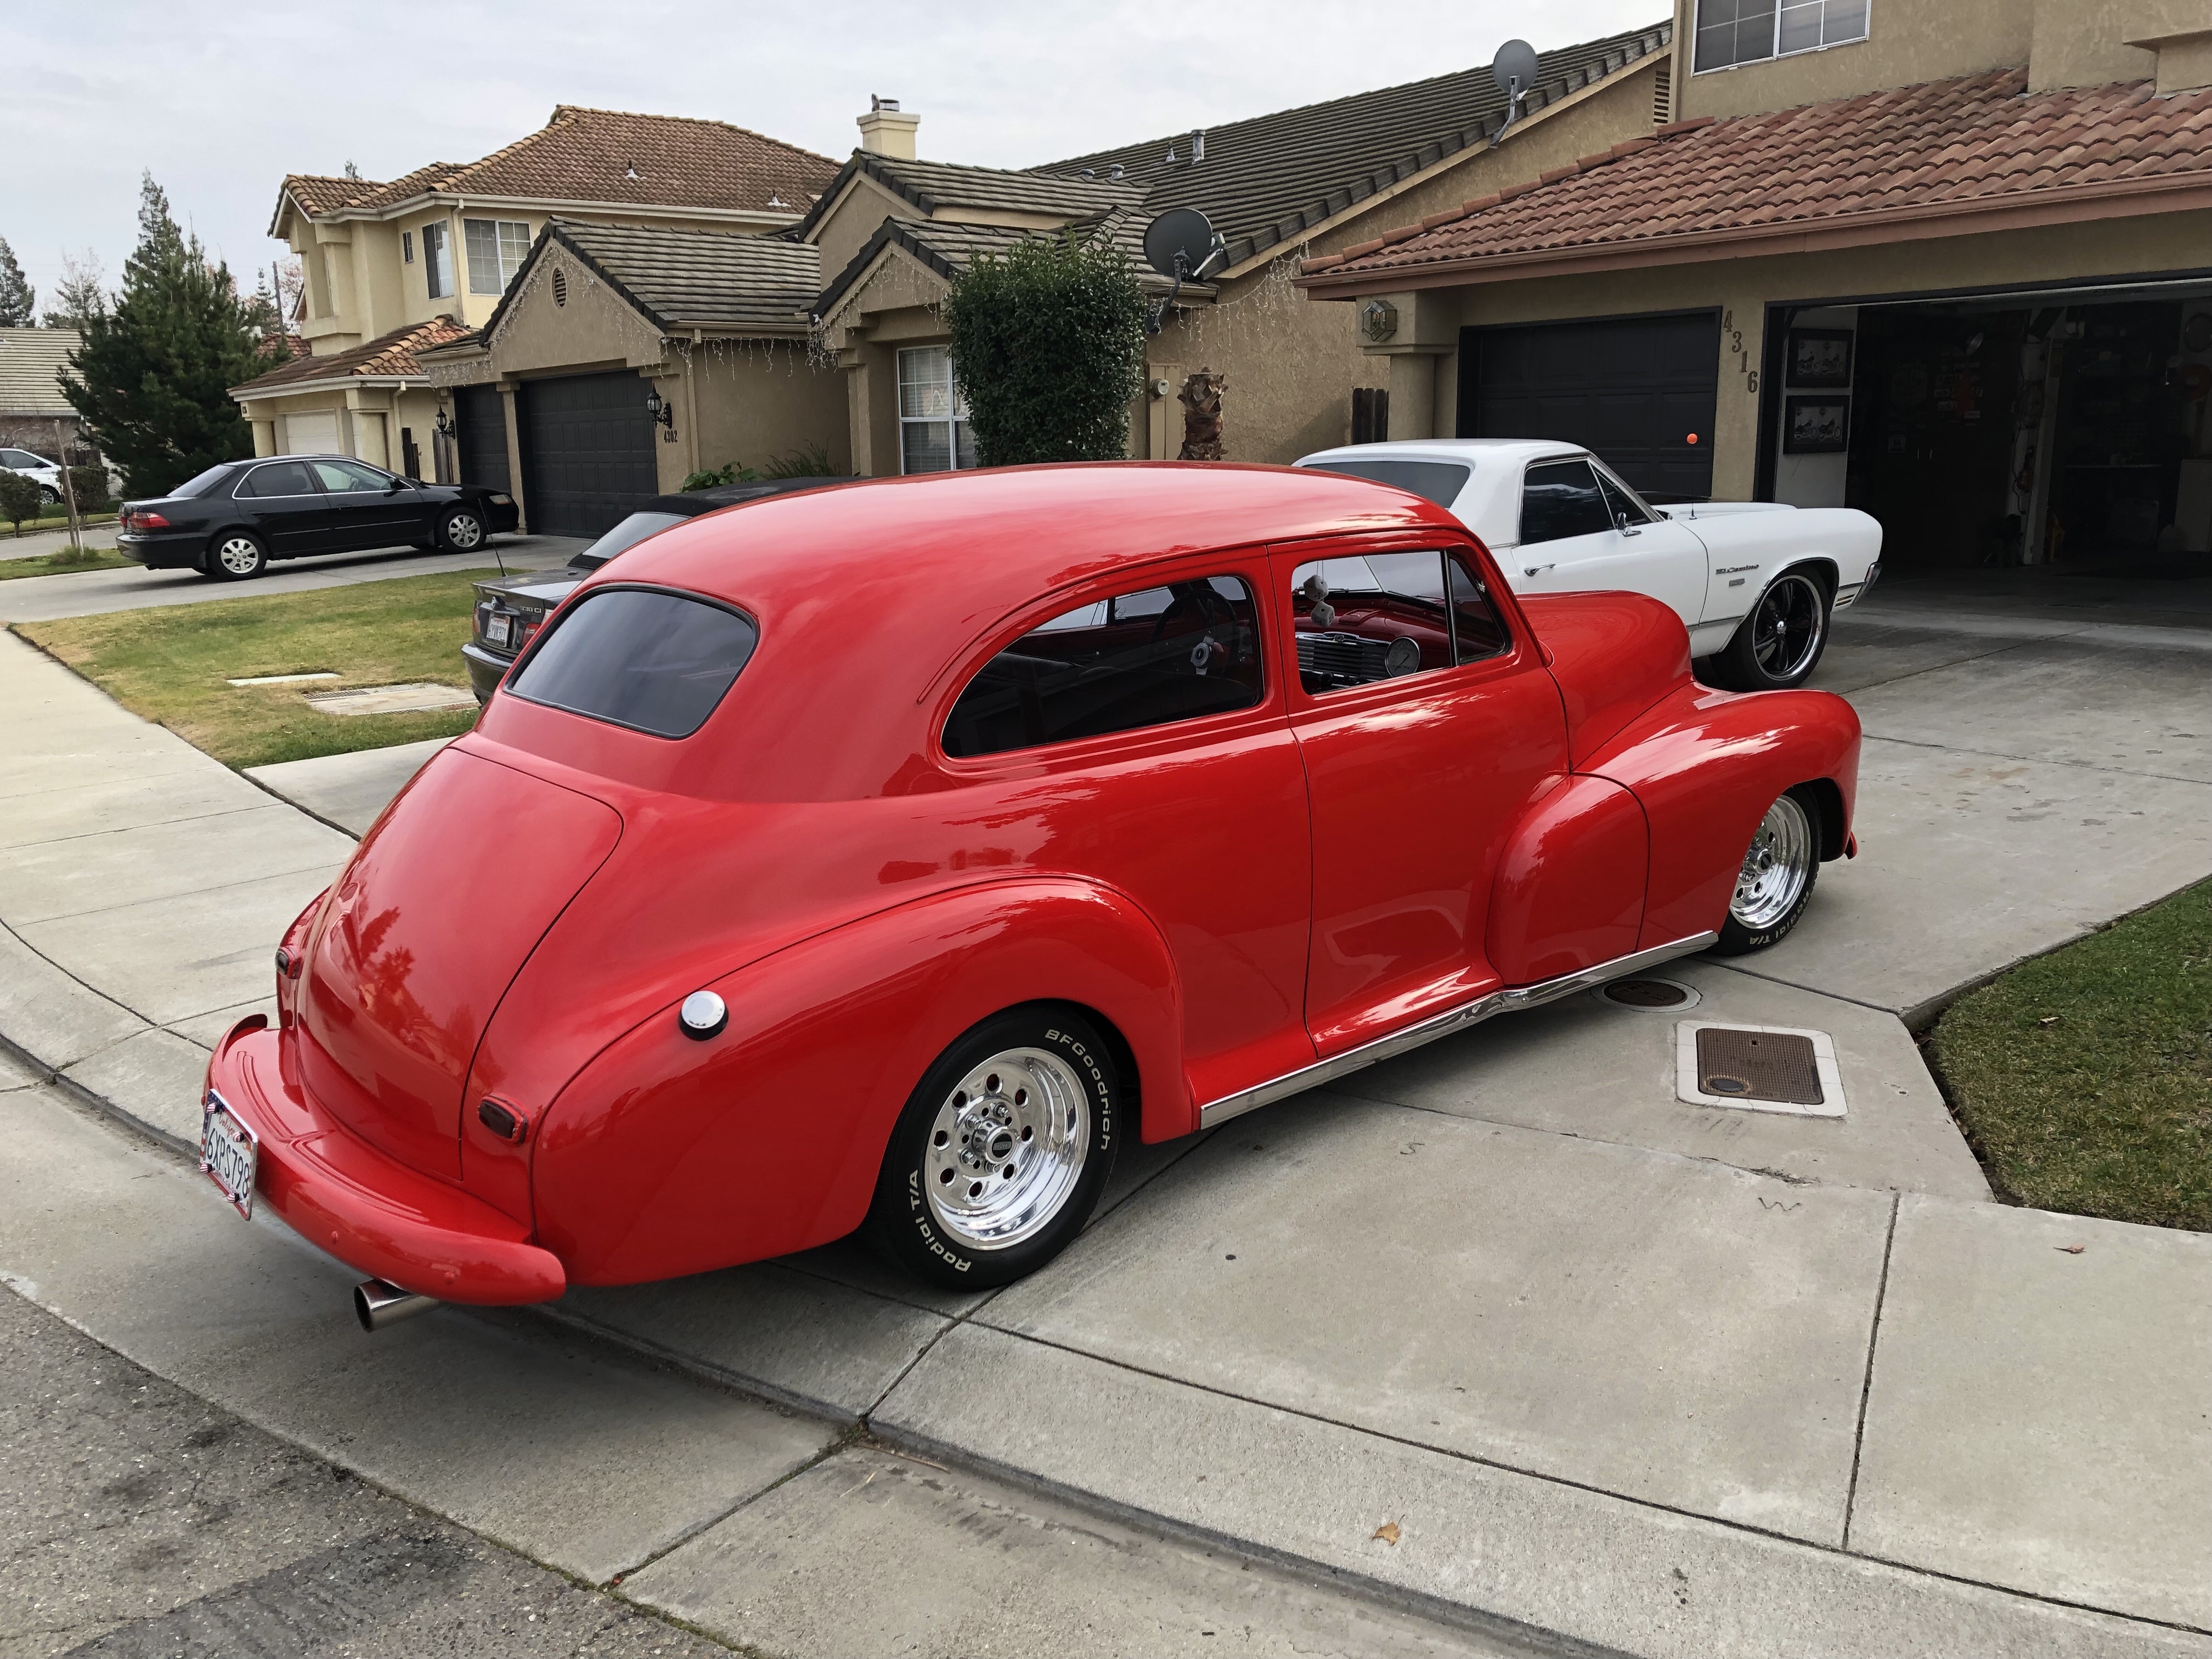
My wifey and I drove down South and traded the 1970 Mustang for a 1948 Chevy Fleetwood Sedan. Car is very clean and in better cosmetic shape then the previous ride. I know this car can make the distance as we drove all the way to Madera California to make the trade.
The 48′ was able to make both legs of the journey with no issues. That was a combined mileage of 270 miles. That’s a very good test for any car to make for a trade.
Wifey and I are heading out this morning to go check out another classic. This will be a cool car to roll around in if the deal goes through. I’ll post up the results later on today. We plan on meeting the sellers at the local Madera Police station for the safety of both parties.
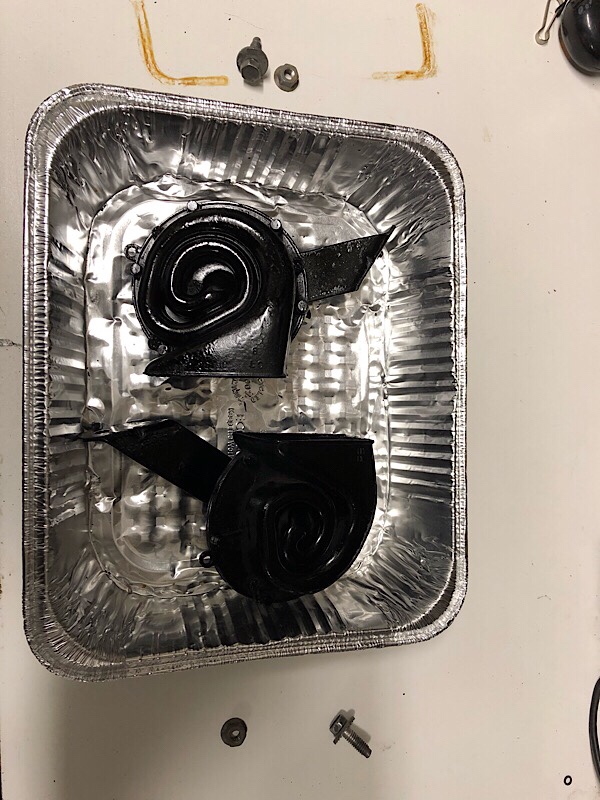
Thought I’d pop out the stock horns and clean them up. Since they were already removed I decided to rattle can spray them gloss black.
If I were to do this again, I’d sand them up and try to remove the 47 years worth of crud and build up. You can see the uneven painting especially with the gloss finish.
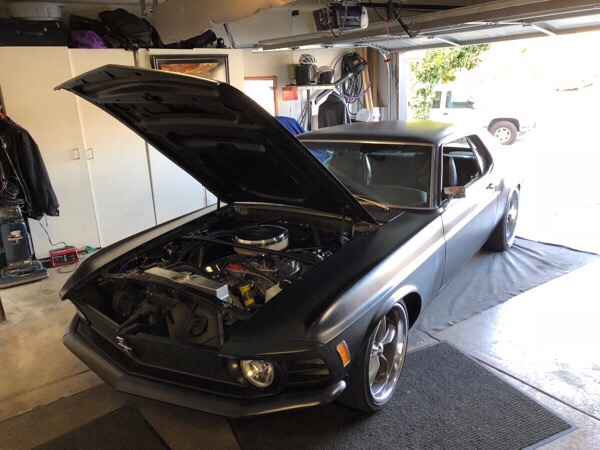
Went out into the man cave to adjust the hood on my Mustang Coupe. The rear part of the hood was not evenly spaced. The passenger side was approximately 1/4″ higher. With the help of wifey I was able to make both sides even.
One note, back when I was trying to reduce operating motor temperatures on my 1963 Thunderbird I did an old school trick of having a 1/4 to1/2″ gap so air would flow across the large 429 motor from the front grill to rear hood. This was a common trick back in the day.
EDIT:
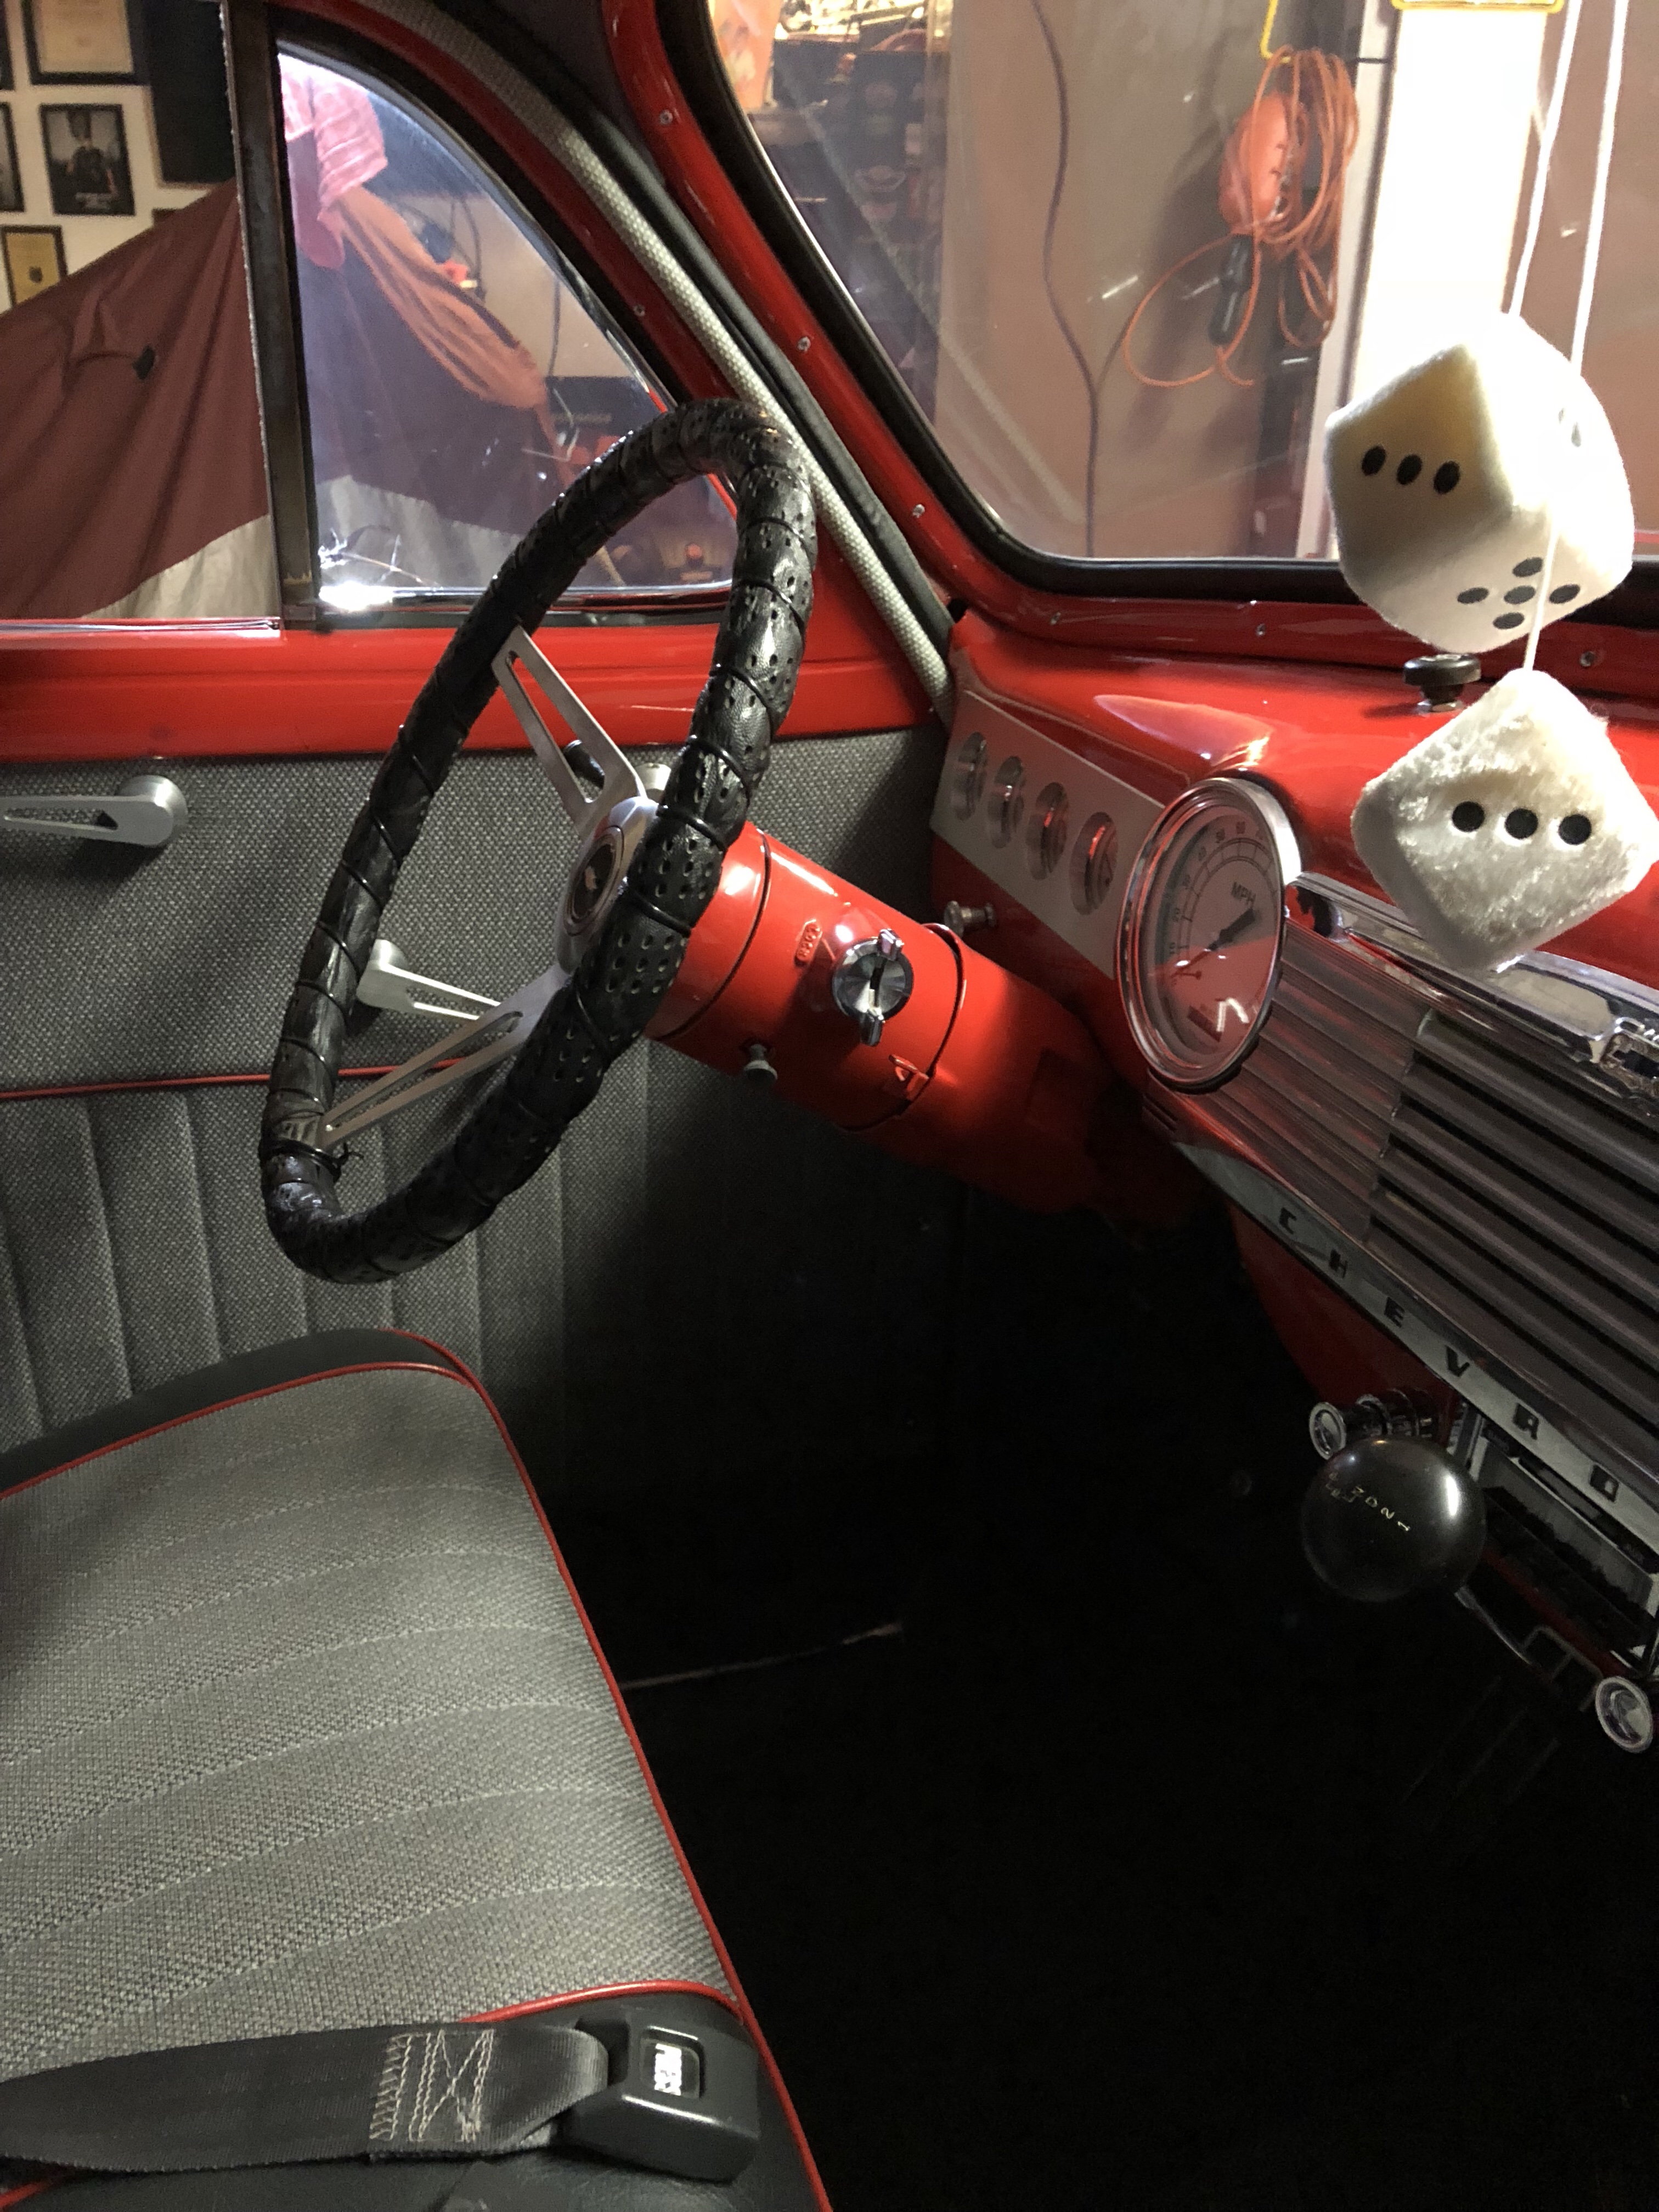
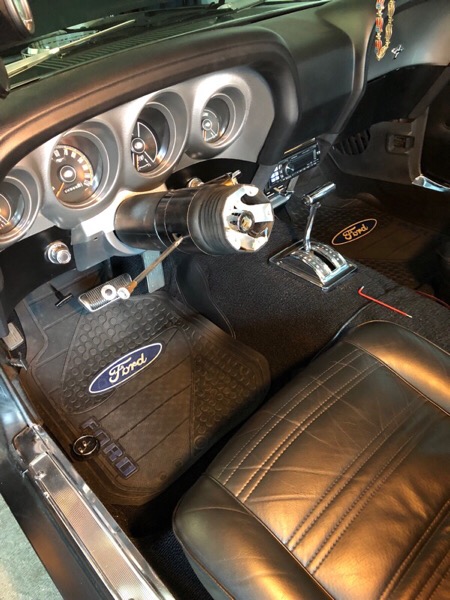
Still a lot time in the day. I went ahead and adjusted my steering wheel so that it is in the correct straight position while moving forward. I also removed both horn assemblies. I plan on painting them gloss black in the morning.