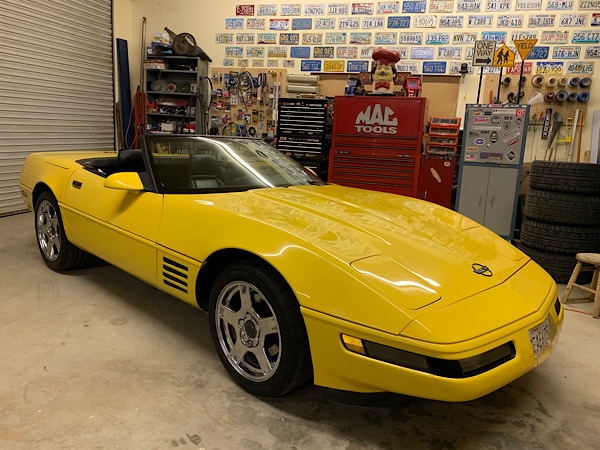
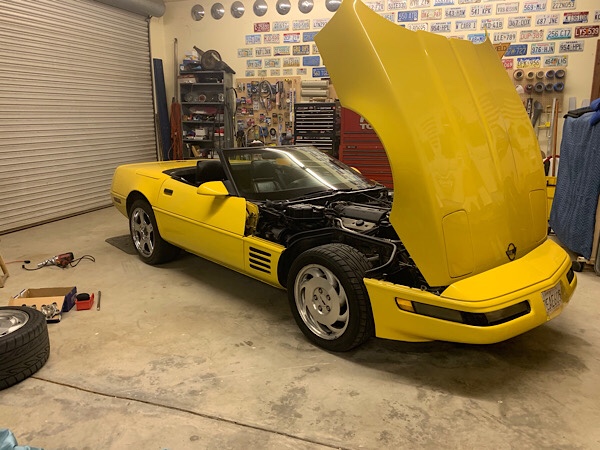
I took the Vert Vette out for a quick spin. I’m trying to troubleshoot a few issues that need to be resolved.
One is an annoying beep sound that seems to occur at random. It turned out to be the car deck stereo GPS application notifying me that I was exceeding the local speed limit.
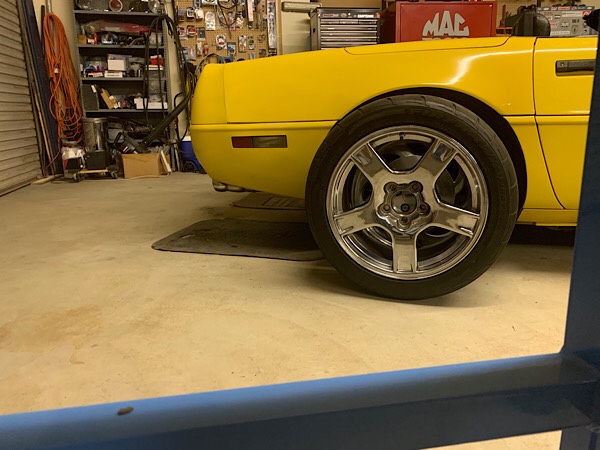
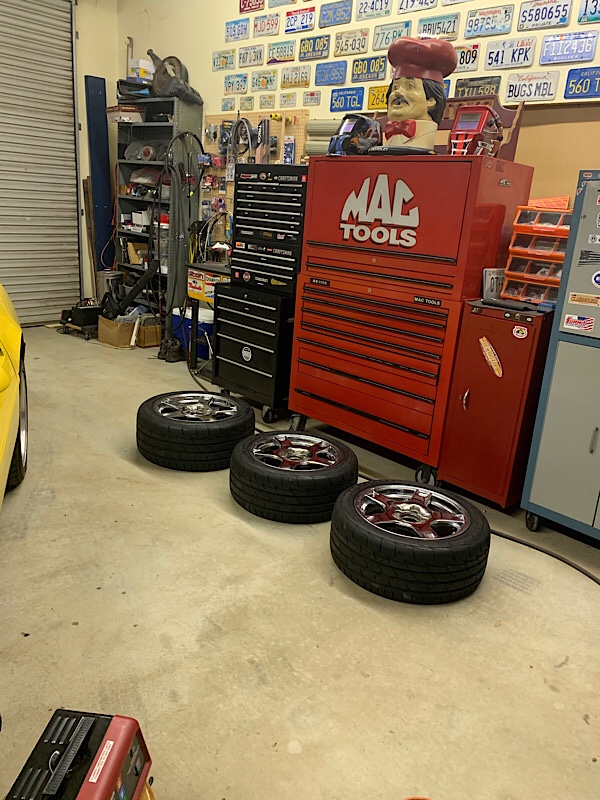
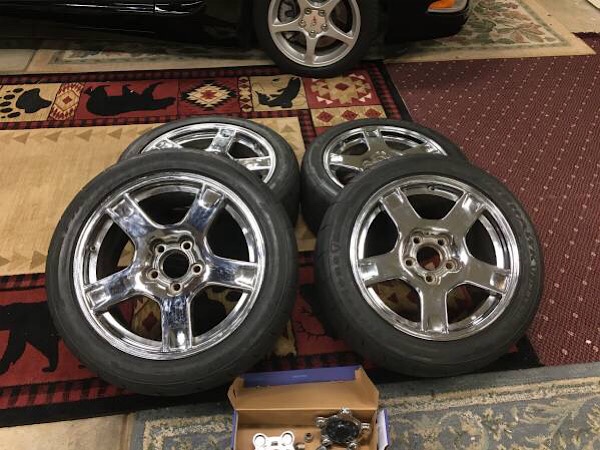
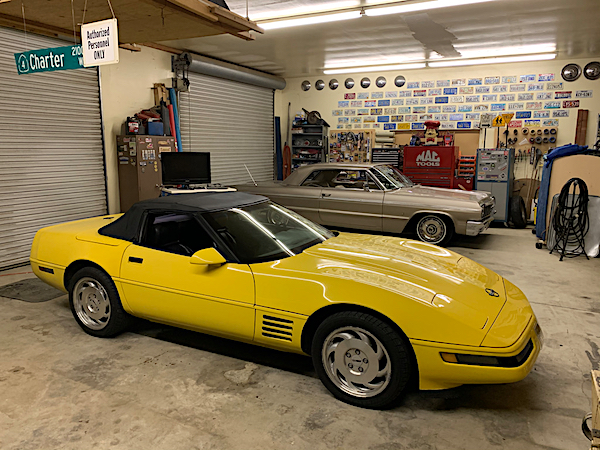
I got the 1998 Styled Wagon Wheels home and into the Manetarium. The rims themselves are in very good shape with very little blemishes. This is in contrast to the clear coat peeled Saw Blade wheels currently installed in the Vette.
The saw blades front tires look huge. These are P275/40R17 sizes, it’s know wonder that the power steering pump hasn’t already given out. It’s the exact same wheel size as the rear setup.
The wheels I bought are from a 1998 Corvette. The wheels are 18” rear and 17” up front. It came with all the lugs nuts and 4 center cap pieces. I already found a replacement for one of the damaged center piece.
For archival and technical data history these are the specs on the tires:
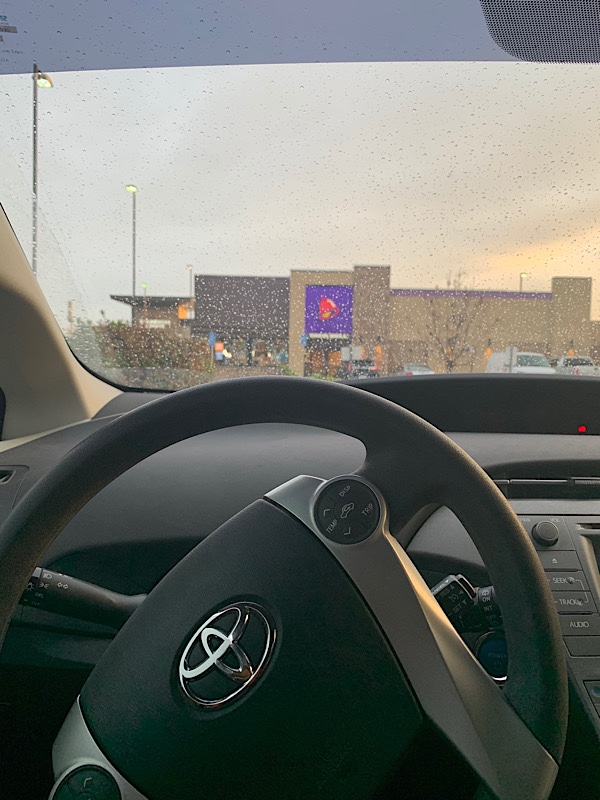
I’m waiting for the seller of the 1998 Corvette Wagon Wheels. As usual I’m hell of early and the seller calls me up to let me know he’s running late. Great.
Waiting in Vacaville CA.
I can’t even recall how many times I’ve waited for sellers or traders. I don’t think I’ve ever gone to meetup and be the person later.
After a short wait the seller called me up to let me know he was home. The wheels were as expected. Actually in better shape than I hoped. These wheels came off a 1998 C4 that the owner replaced with a different style.
For whatever reason this particular style gets no love from the C5 owners. They seem to dog the shit out of it due to the resemblance of a stagecoach wagon wheel.
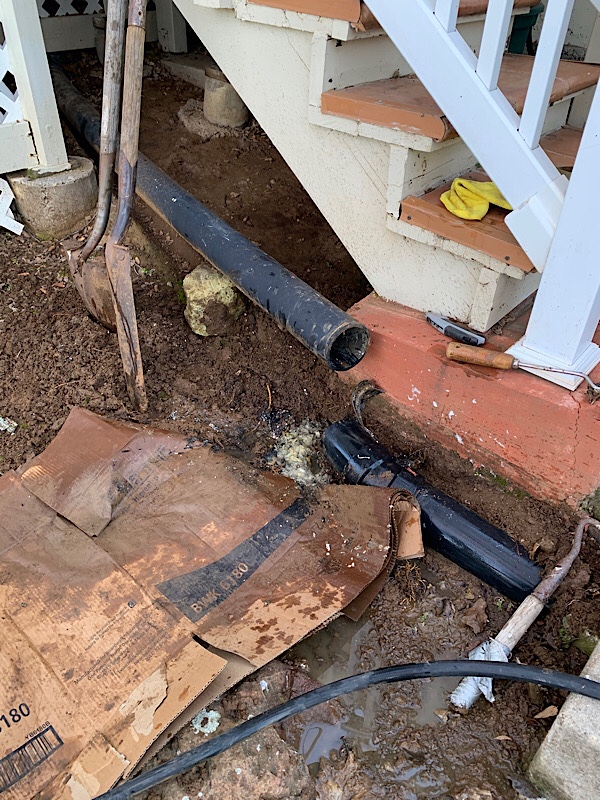
One thing about living out in the country, there’s no city services so that means no local sewage main lines provided. Everything out here is based on a septic tank architecture.
The coupler between the drain pipe coming from the house and into the septic tank developed a crack caused by roots and other factors. I had to disengage the coupler so the part could be replaced. This of course meant all the clog shit was readily available for viewing and the pleasant smell.
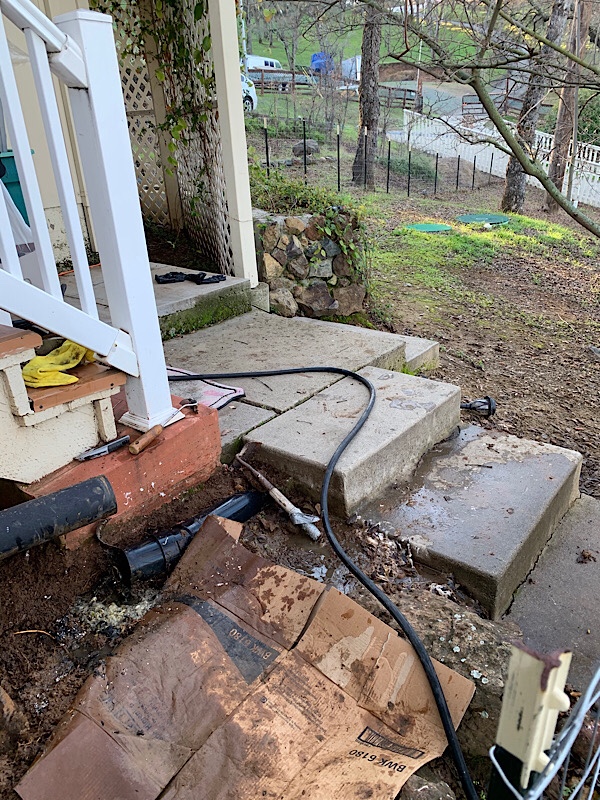
If the sewage drain pipe that goes through the cement step walkway ever breaks I’m going to have a hell of an issue trying to fix it. I should probably provide some sort of protection on the exposed pipe.
I needed to remove the annoying light bulb for the Service TPMS since one of the sensors was not taking measurements and I wasn’t going to spend a couple hundred bucks for a sensor that tells me my tire is low in pressure. I take pressure readings all the time.
I also needed to fix the gear shifter indicator. It didn’t move regardless what position the gear shift was set to. There is a slotted lever that needs to be aligned to a gear shift pin.
Of course with me, everything will be taken apart just so I can mess with it.
I’m not going to bother posting the weekly graphic this time. The COVID-19 cases in our county is still steadily getting higher though the rate seems to be consistent and not spiking. We now 1807 positive cases confirmed.
This number has to be off. I can imagine there are lot of folks who probably had the virus but never went to to the hospital or got tested anywhere.
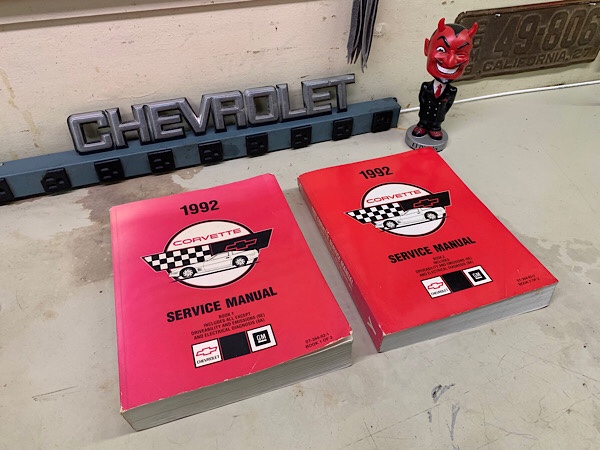
I’ve always been a stickler for having the proper documentation while trying to troubleshoot vehicle issues. It doesn’t matter what year the ride is having the factory issued service manuals are a must.
With the latest offerings from YouTube most folks don’t even bother using a service manual. I think this limits the additional knowledge you gain by perusing through the different chapters of information.
This particular 2 part set cost around $100 on the average. I was able to find these for $70. The “Book 1” has a discolored front cover, it’s obvious when placed right next to the 2nd book. The inside pages of both books are in excellent condition. I’ve had the misfortune in the past purchasing this service manuals that had a split seam which mean your nice book became a series of books. Each section broken off at a meaningless stop point.
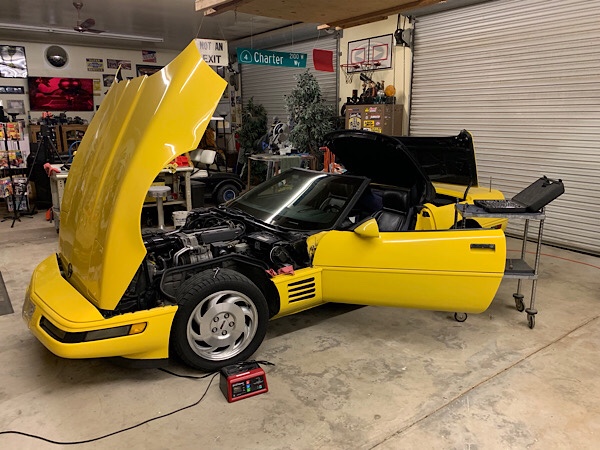
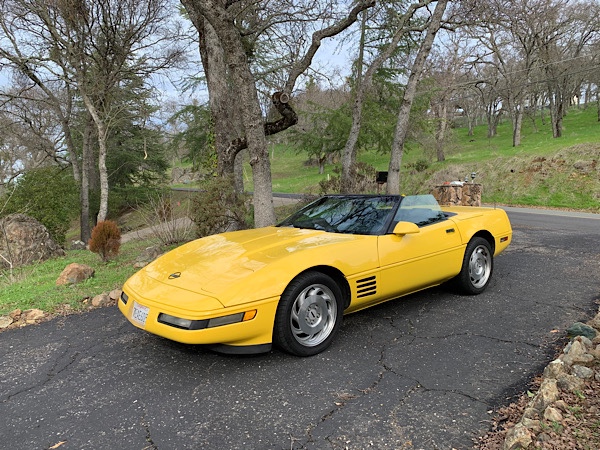
Wifey and I went for our first top down ride to debug 1992 Corvette Convertible. We took off over Pardee Lake and hit some roads we’ve never been through before.
After awhile we stopped over at Buena Vista market and picked up treats for the road. We then headed out through Jackson and over to Moke Hill where we found a cool place to check out the flowing river.
We had no car issues at all. Everything operated as expected. The test that concerned me the most was the digital display repair I just completed. That took me damn near two days to complete.
I spoke to a family carrying fishing poles and gear. They were heading down stream to their luck catching trout.
We arrived back home safely and still enough time to chill out the rest of the day.
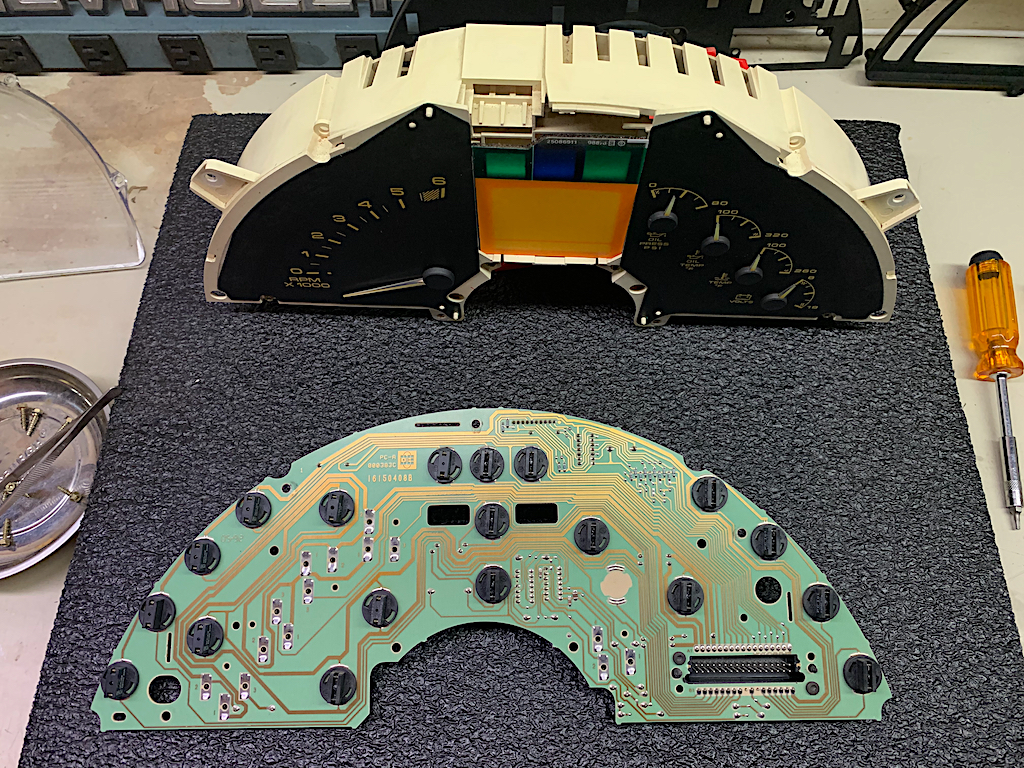
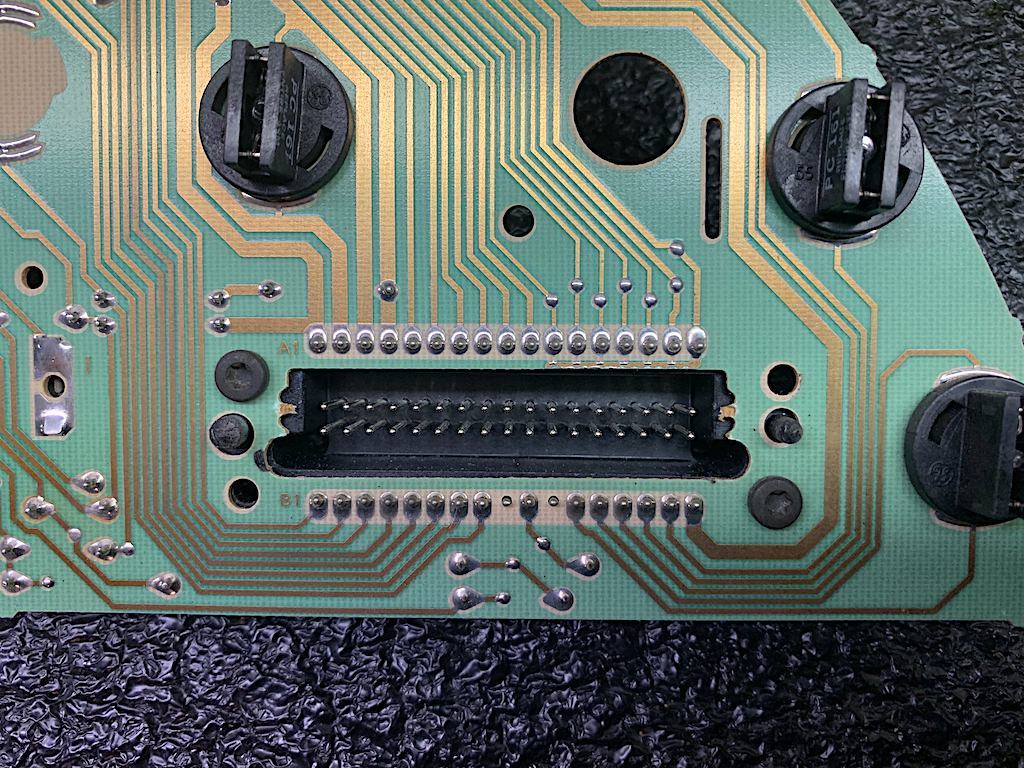
Today I continued working on the cluster gauge repair. More specifically the center digital display is all wonky. I can drive for a few miles and the digits and will become garbled and not readable. It also at times would not display digits at all. Sometimes “tapping” the upper bezel area near the plexiglass covering restored functionality but only for a few minutes at a time.
Removing the entire gauge cluster is not an easy task but dropping the steering column down makes the task much easier and less chance of breaking any plastic tabs or cracking other weak pieces.
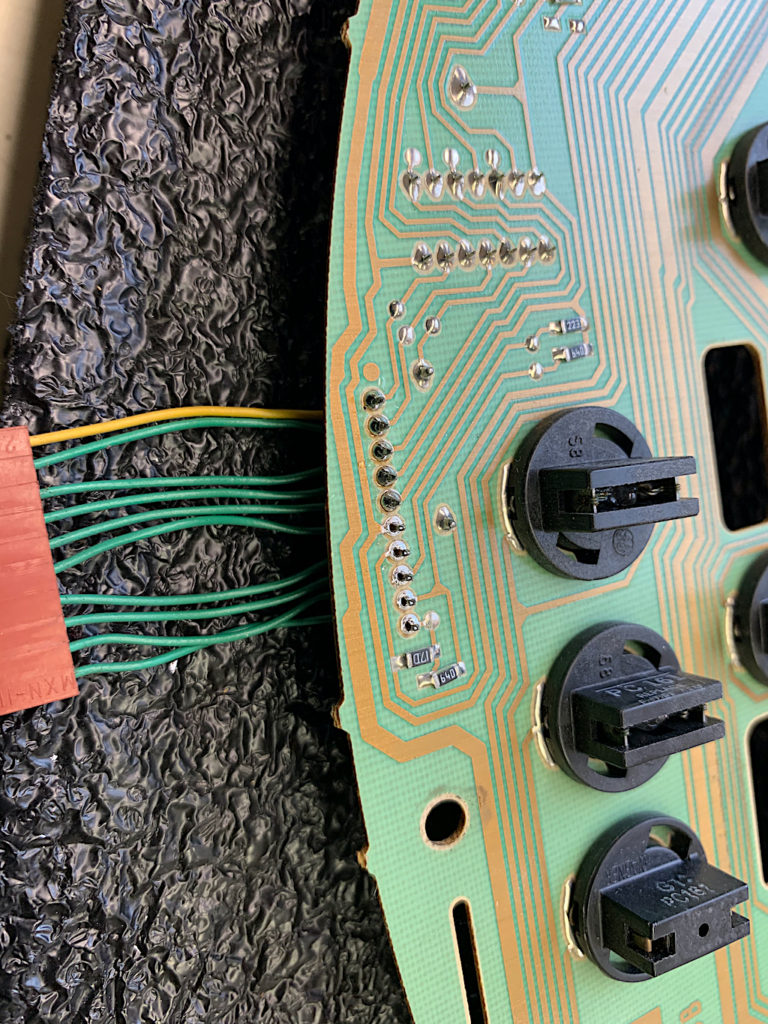
I removed the existing solder from every pin that was associated with a harness connection. I then soldered each connection, checking to make sure the fillet was correct and no fractures occurred during handling.
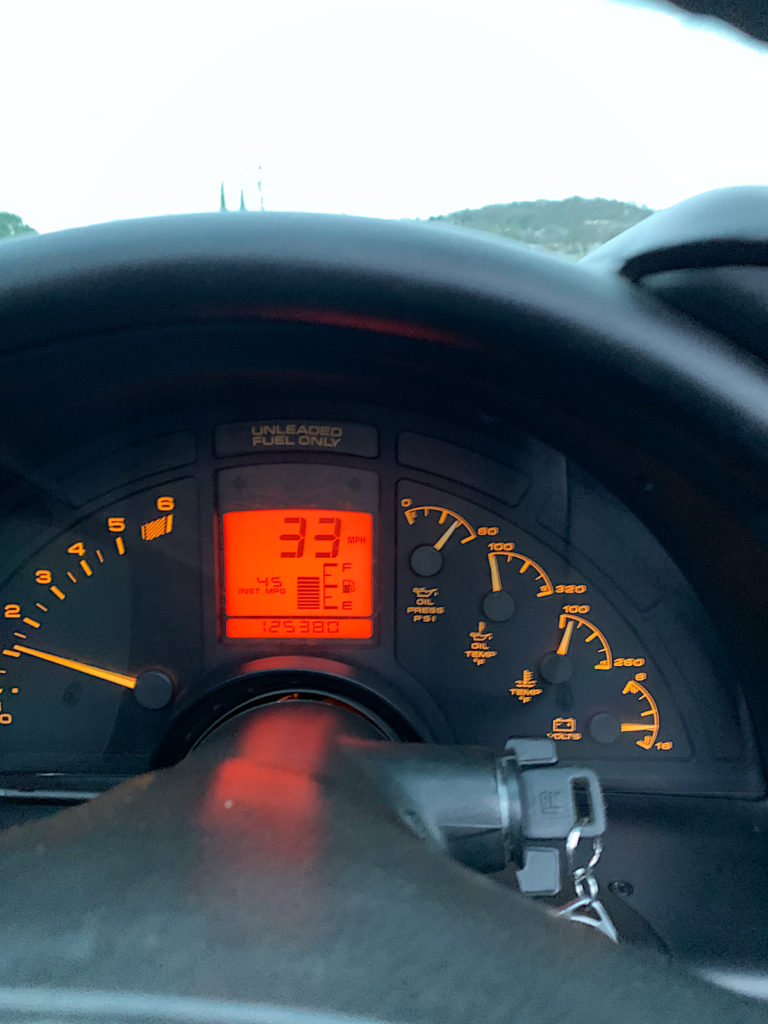
My initial test drive after working on the cluster gauge is promising. I would normally drive for a few miles before the center digital display would start acting wonky. It seemed to be more shock and vibration prone than heat related.
I didn’t experience any loss of display measurements during my short 20 minute ride around the neighboring hillsides. I plan on testing it further tomorrow.
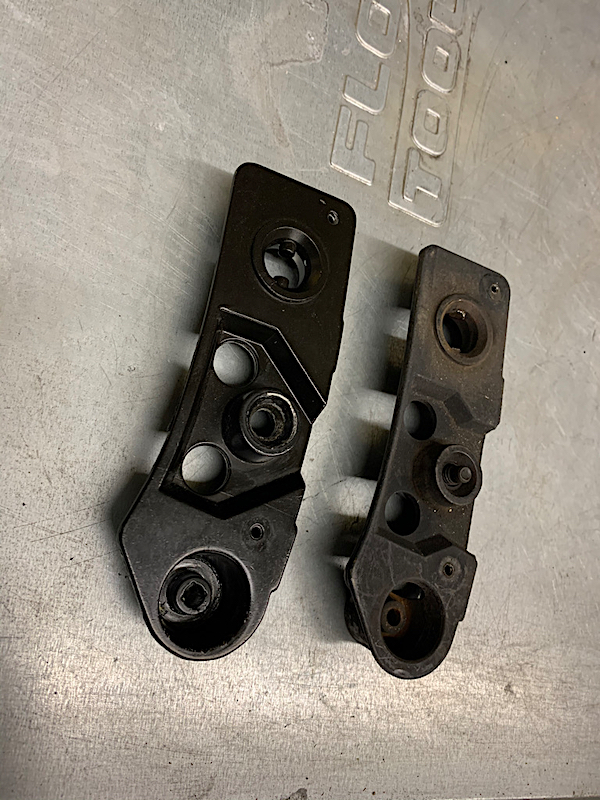
The passenger side rag top latch was toast. The pins that supposed to be inside the receiver were all but gone. You can see the indentations protruding from the sides, that about it.
I was able to pickup a really great condition replacement piece through a contact I met on Facebook. The company name is Mirrock Corvette, there website is https://mirrockcorvette.com/
I highly recommend these guys. My part took 2 days from order to my home. That is freakishly fast service.
The latch locks down like it is supposed. So much that it takes a considerable amount of effort to unlatch it once it is engaged.