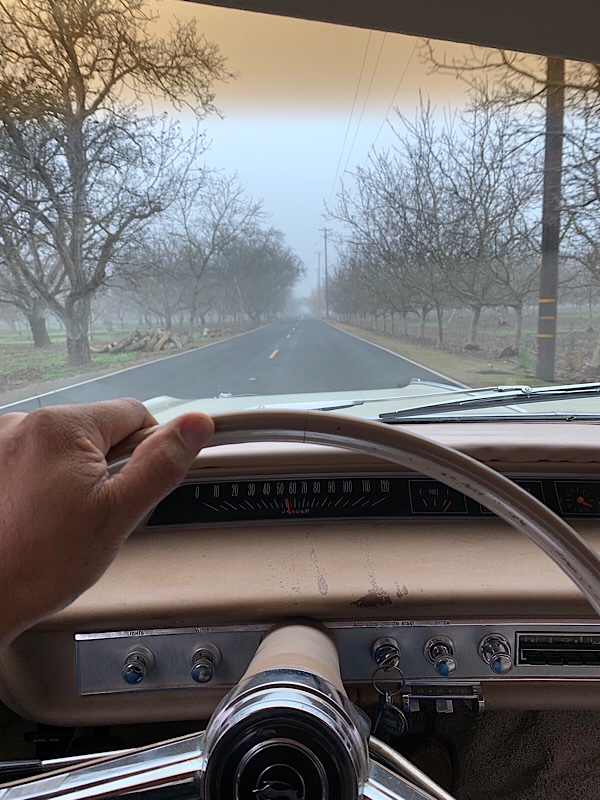
It was time for a change (again) and the 1964 Impala had to go. So this morning I took off to meet the owner of a 1992 Corvette convertible. This was a deal that I was taking the risk of driving all the way to Fairfield California. In cases like this I normally meet halfway between the two involved parties. I was the one that initiated the deal so I was being more aggressive than normal trying to make the deal materialize.
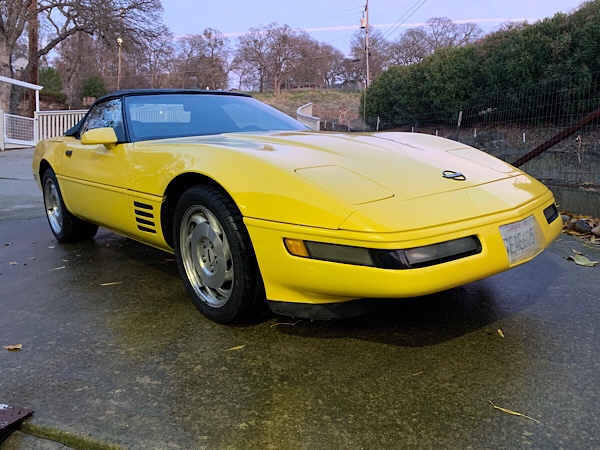
After meeting up with the “trader” we agreed on doing the deal. The Vette is in really good shape for its age, I’d say a good clean daily driver condition.
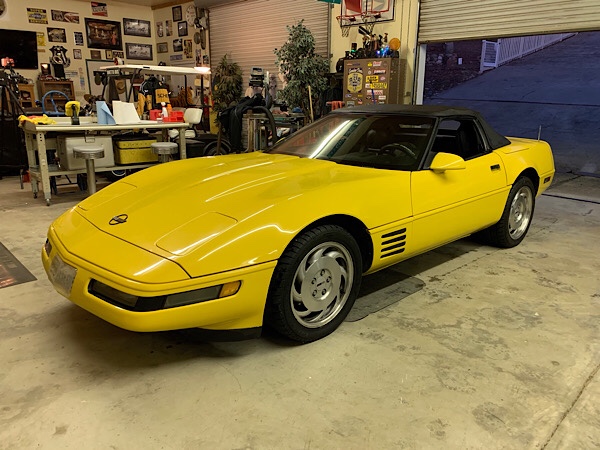
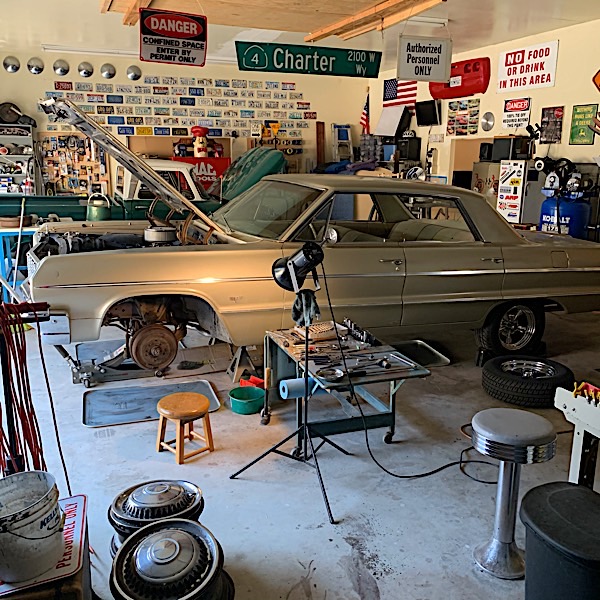
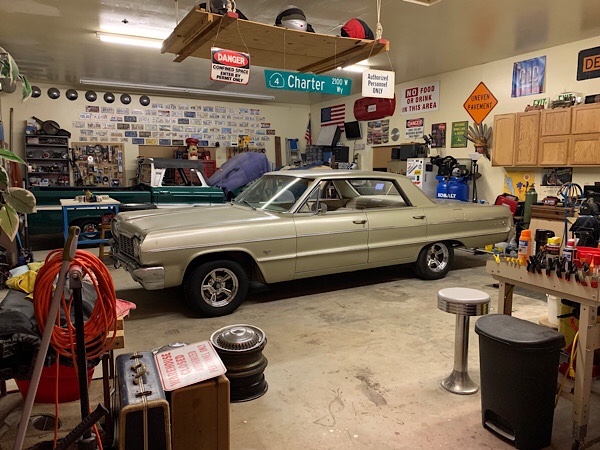
All parked in the Manetarium bay 2. I’ll begin checking out all that needs to be repaired or worked on. I’ve found no matter what the previous owners evaluation of their own vehicle it’s always on the generous side.
I’m not a fan of the stock wheels. I like the wheels used in the C5 models. I had a 1989 Corvette a few years back and it sat on a set of newer generation rims.
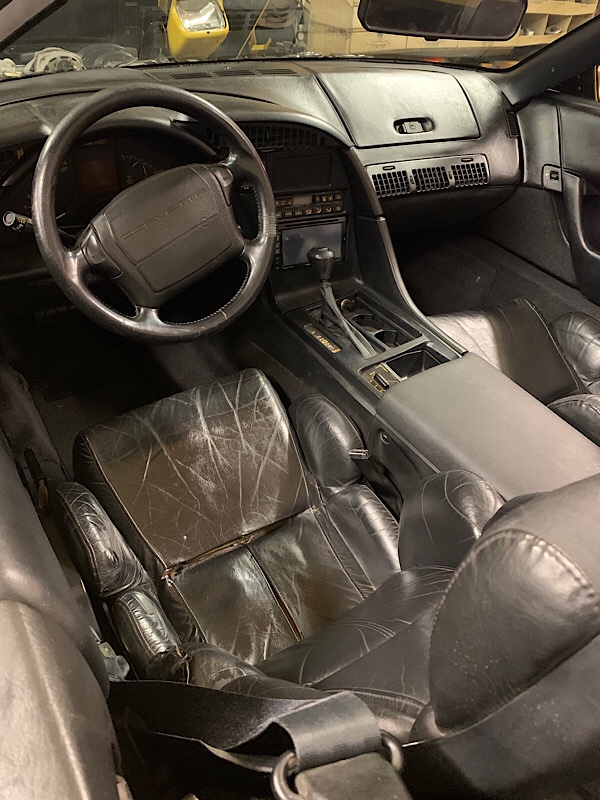
The interior seats are rather worn but the plastics, console and dashboard are in really shape. I did notice on the way back home when hitting the higher speeds the center gauge which displays the speed and selectable vitals became erratic and unreadable. This will need to be addressed soon. I’ve had to deal with these type of issues in the past and working under the dash board is very difficult considering the lack of room to maneuver around.
The first generation LT1 motor ran good on the short 80 mile drive home. It has dual exhaust and quad chrome muffler tips. The tone is tame enough at idle but definitely has a rumble when jumping on the accelerator.
I installed the new drivers side front brake cylinder and rubber hose. Using that brake “pliers” makes the job freakin’ a breeze. I had no idea how to use the bottom section of the tool and did a little youtube research. It’s the most important function of them all! Removing the upper springs from the pivot bolt has always been one of those watch out for the flying springs moments. This tool makes it a breeze.
I took the 64′ Hard Top out for a test drive and stomped on the brake pedal. No more hard pulling to the right. The old cylinder was so rusted and frozen solid I literally only had 3 brakes working driving back from Waterford, CA. when I first purchased it.
There is a slight soft pedal action and I will do a full bleed again once I have someone I can snag for an hour or so. It’s a pain in the ass gravity bleeding a brake system.
When applying extra pressure to the brake pedal the Impala will veer hard right. By applying normal pressure the car will stop with a slight pull. It would seem the drivers side front brakes is not working properly and the passenger side is doing most of the work.
The rubber hose was visibly intact but no telling how it functioned with brake fluid and pressure applied. I’ll be replacing the hose as a maintenance precaution. I need to research the hose length. It turns out there are two different sizes but not by much. I went and ordered the longer part. It’s approximately 8mm longer. I’d rather have to much hose then not enough.
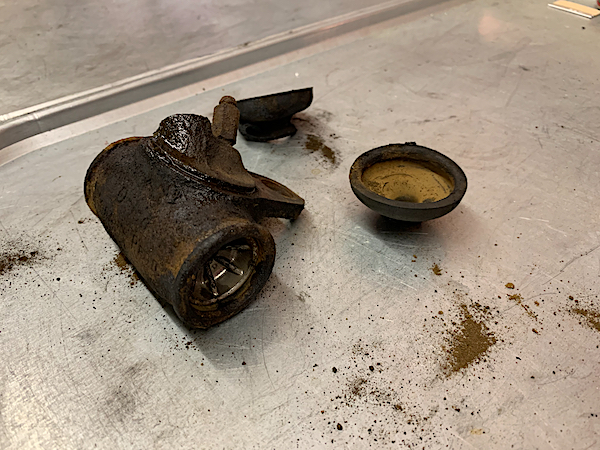
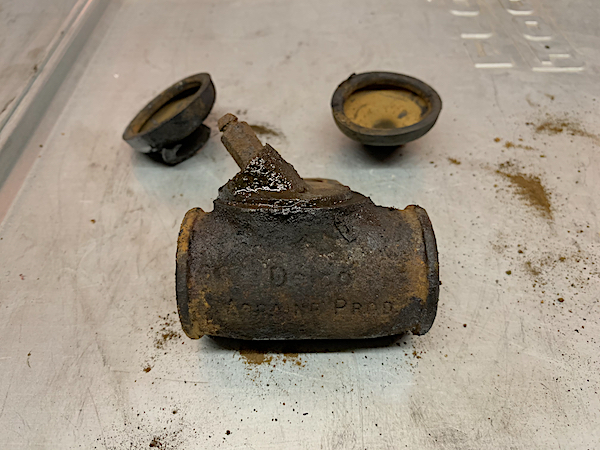
The driver side brake cylinder was completely seized and rusted out. The official service manual specifies a piston to cylinder gap between 0.003 to 0.006. This part was so crusted with rust you couldn’t slide any gauge in between. I ordered a new part, there is a left and right replacement part.
I may have to replace the passenger side brake cylinder if I’m unable to crack open the bleeder valve. My first attempt on the passenger side to see if it would break free was unsuccessful.
Took the driver side wheel drum to Lee’s Automotive which is located just down the street from my work. I’ve taken other drums from various projects and they have alway had a quick turn around.
As expected they finished turning the drums before lunch time. I went and picked up the freshly turned part during my lunch break. How convenient is that!
I need to work on the Impalas stance. Since it’s going to be static I need figure out the components I’m going to use.
The rear has an air shock which I believe is a Monroe brand that is available at any local parts store. I don’t know if the previous owner did the installation but it was mentioned that he wanted to at some point haul around a trailer. I air shocks would make sense for this application.
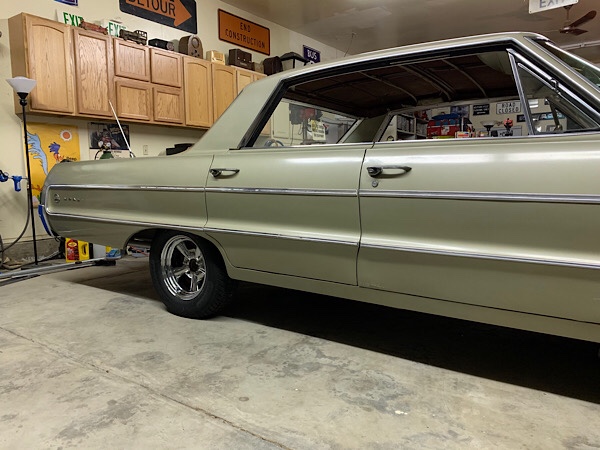
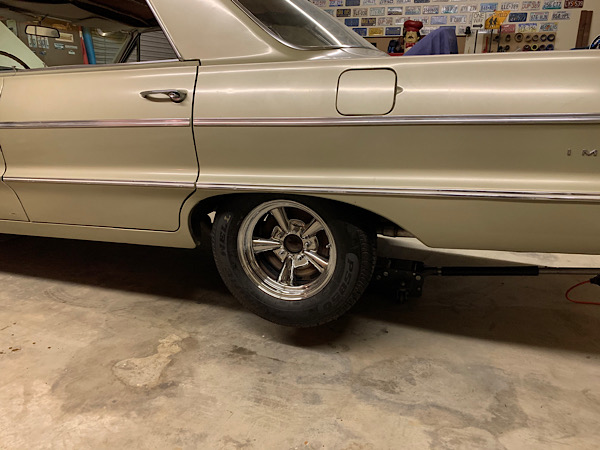
La Bamba has the stance of a gasser.
This photo is taken with the 14” Supremes and the air shocks with no air. The air valve had an extender going through the rear bumper and it had snapped the main inlet valve, this dumped all the air out.
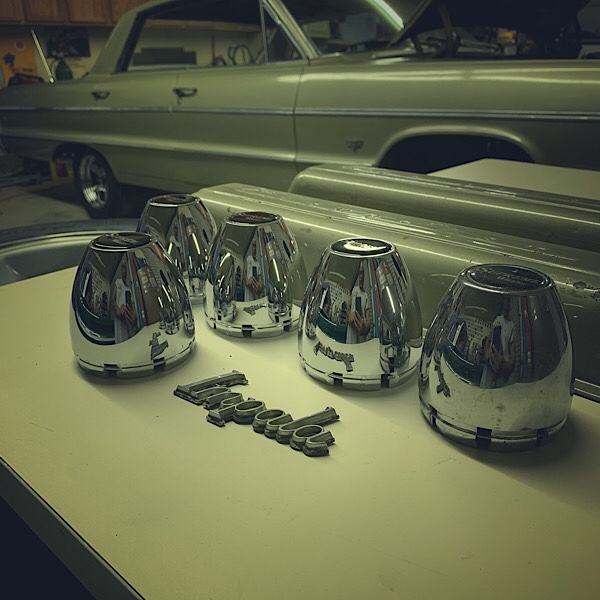
Center caps on order, should be in next week.
I’ll be heading to the local auto parts store for a replacement inlet valve. Once I get the minimum shock required air volume I’ll set the stance. I believe the minimum air is 25psi and the maximum is 200psi. I’ll also include the model number once it is confirmed.
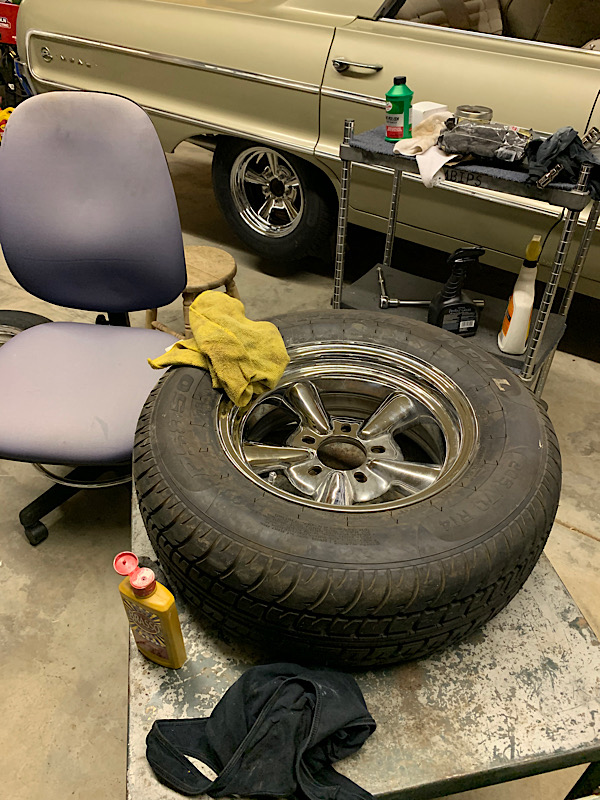
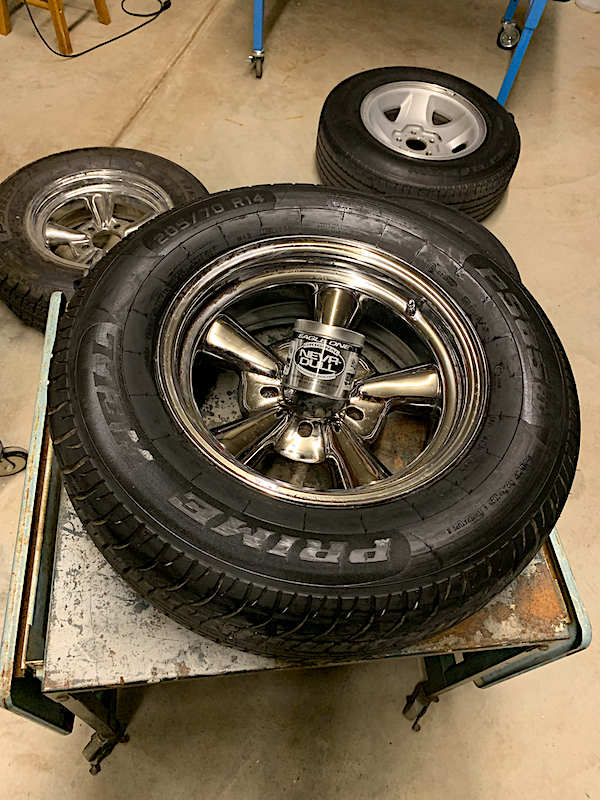
Finished up as much I could on the first wheel. This particular wheel had the worst rust damage of the set. Working on the 2nd wheel which was a breeze compared to the first one.
To get better results I used steel wool #0000. I had tried the heavier version #000 as recommended by a lot of folks on the internet but it seemed to be too abrasive and leaving a light scratch. Maybe it was the lighting or my imagination but I didn’t want to risk scuffing or scratching these rims. The lighter grade works fine, just needs a little more elbow grease.
It was a definitely a relief mounting the first wheel on with the lugs I got. I knew the wheel was the correct size and wheel pattern. One note, the lug nuts that were used to mount the funky S10 wheels were the stock 1/2” lug nuts that barely had enough reach around the 7/16” studs. I would consider it a safety issue as the there was not a flat surface for the lug nut to seat on.
Another interesting issue I ran across was the actual removal of the rear tires. These were so wide and tall they could not be removed easily. I had to release the air pressure on the tire and use the jack to lift the car a little higher for clearance.
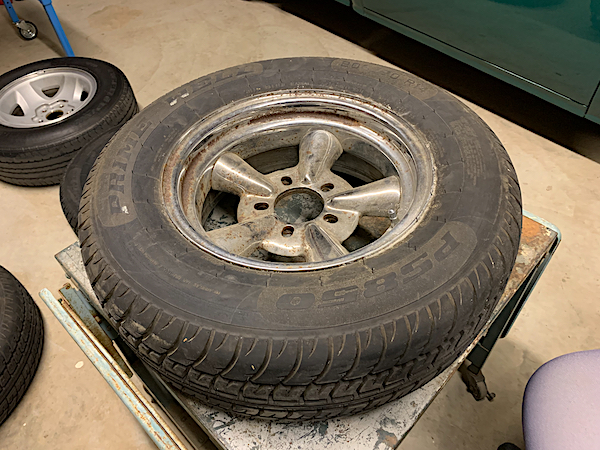
Started bring the these old OG Supremes back to life. I’m starting off with the worst of the bunch.
I was able to get quite a bit of the rust removed using “Never Dull”. I’ve been using this stuff since I first starting messing with classics. Rust is ALWAYS and issue with 50+ years rides but there is no substitute from using good old elbow grease.
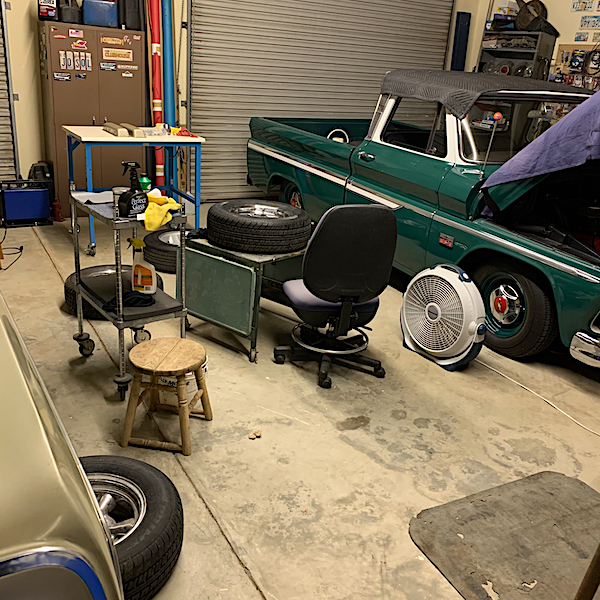
Applied a little Armor All to give it a cleaner effect. My spot in the shop for the next week or so.
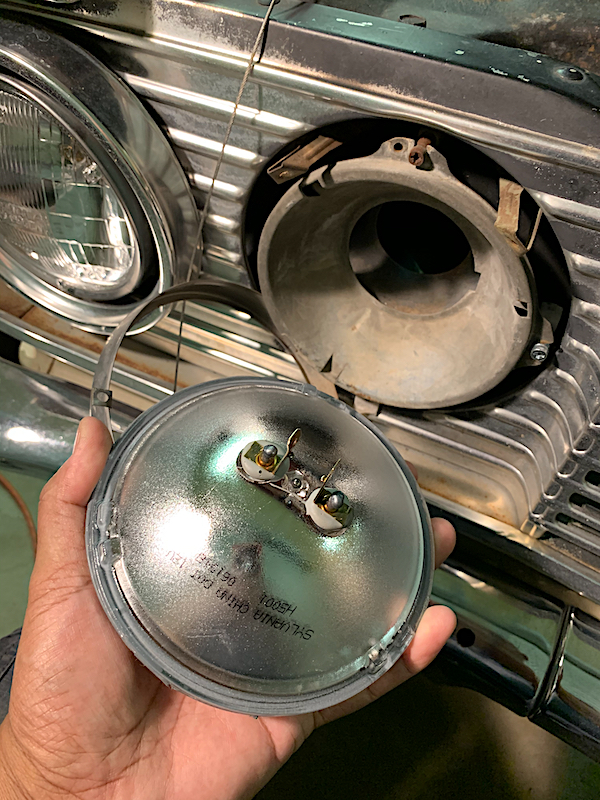
I picked up the proper high beam headlamps and fitted each into the bucket assembly. I selected the Sylvania H5001 model. This part is normally a stocked item at the local automotive parts store.
There are a two major difference between the low and high beam lamps. The high beam only uses two prongs. The connection to the high beam lamp is the proper 2 prong wiring. The connector can be oriented in any direction.
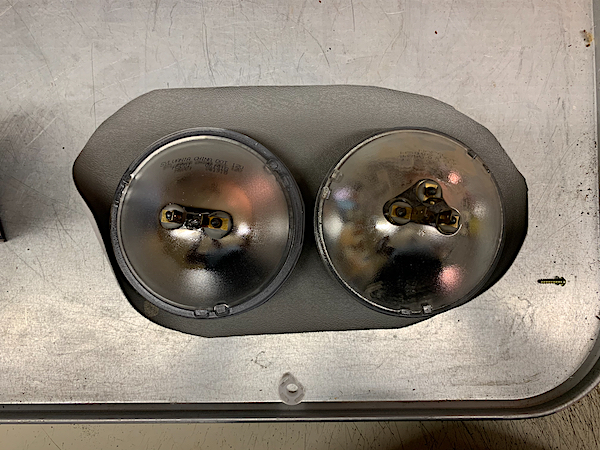
If you look closely the glass tabs and notched retaining ring are slightly different between a low and high beam bulb. This is why you can interchange the two and the proper bulb should be used for installation.
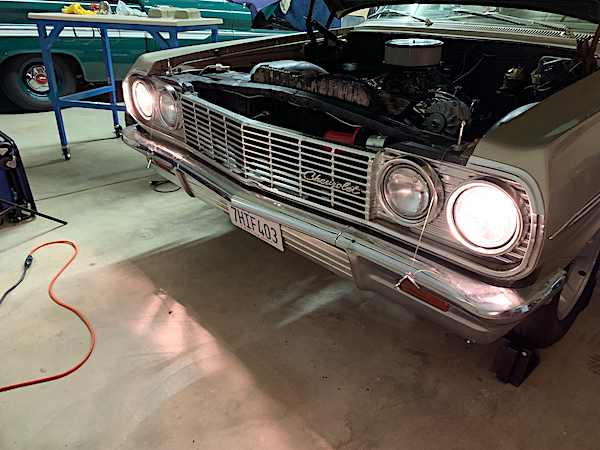
The low beam headlamps are now functioning as they should. I still need to order replacement tabs that secure the bottom section of the bezel to the grill. All four tabs were broken and missing.