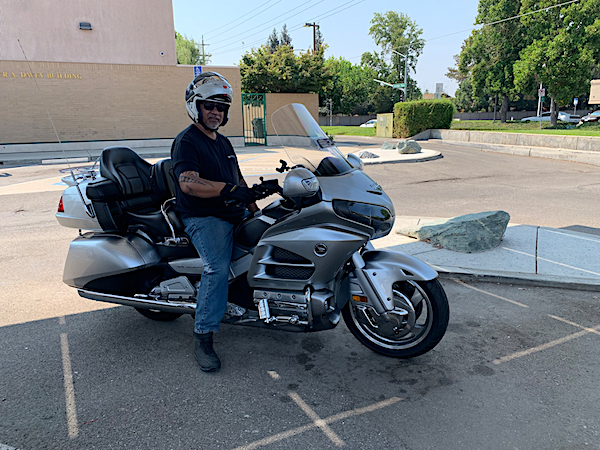
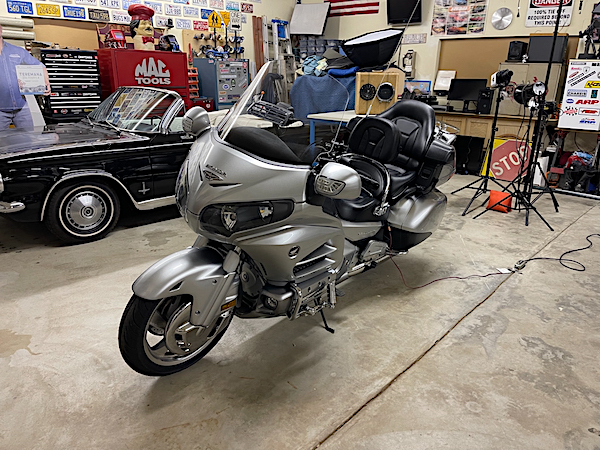
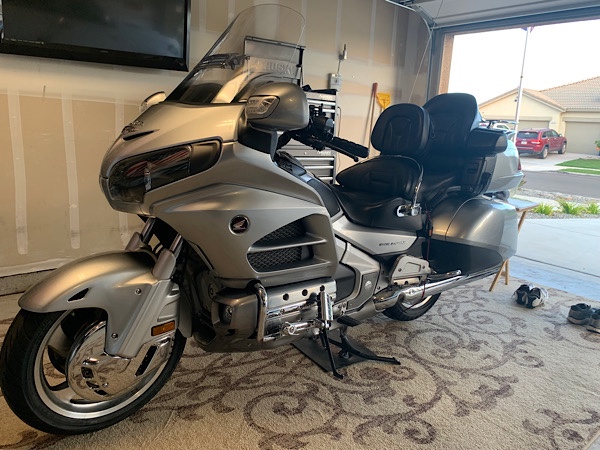
I guess you can say 3 times a charm. This morning we picked up our 3rd Goldwing. I found this super nice 2015 GL1800 Goldwing in Central California. The previous owner was having to deal with offers coming from out of state and he was fed up with the long distance process.
We agreed on a selling price and today wifey and I drove into Stockton for pickup.
This bike is not only in great condition it has worked done that enhances the riding experience for both the driver and passenger. Here are a list of a few items – complete LED lighting upgrade by SoCal Motor Gear, rear spoiler, rear chrome rack, Centramatic Balancers, steering tapered bearings, assorted ARM mounts, SENA 20S EVO wireless Bluetooth systems (3 complete sets, one unused in box), Shoei Neotech 2 helmet, HJC helmet, brand new Dunlop E4’s, Kuryakyn rider backrest.
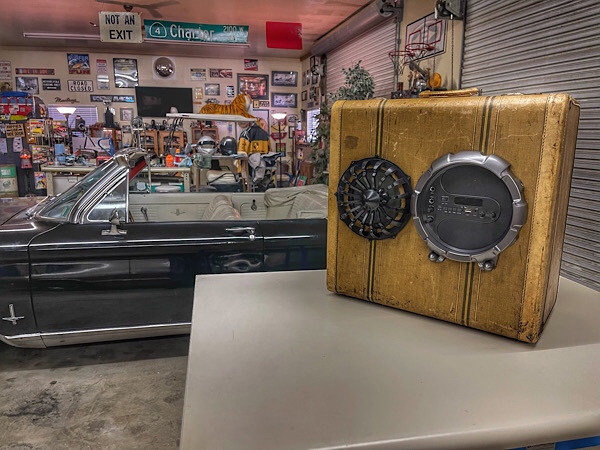
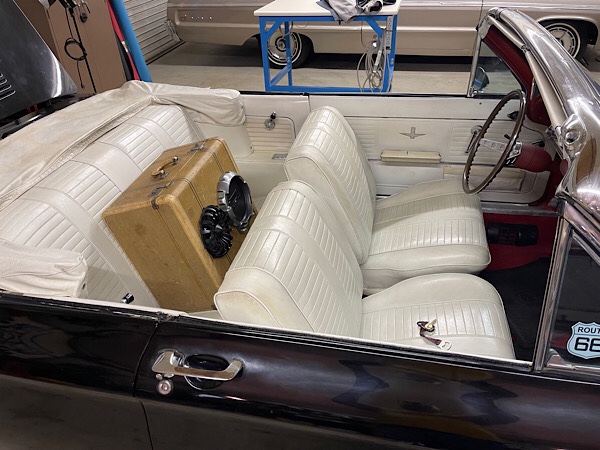
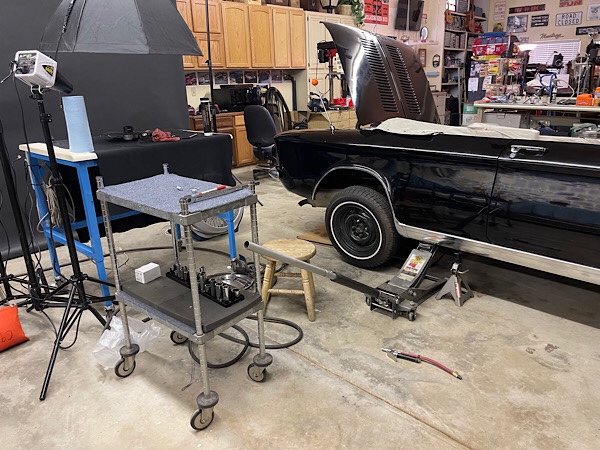
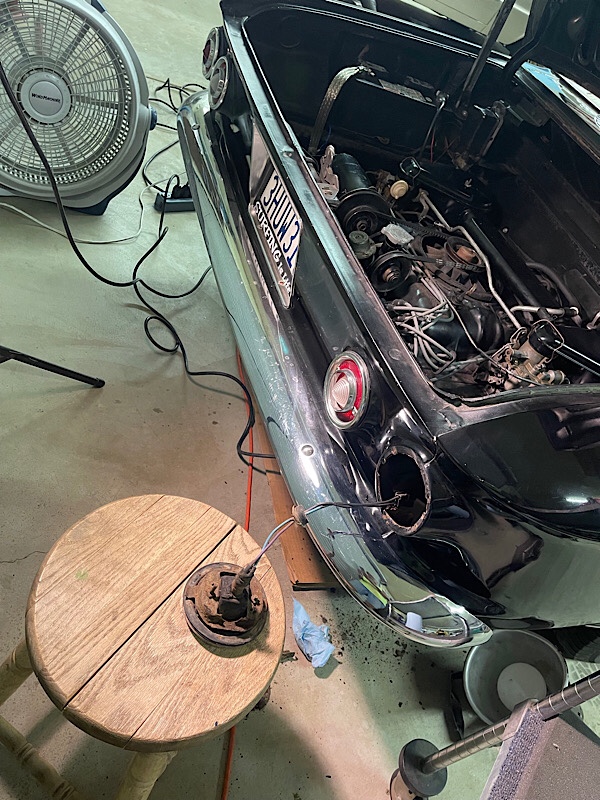
The radio in the Corvair has never worked. I don’t want to replace it with an aftermarket brand and lose the stock look.
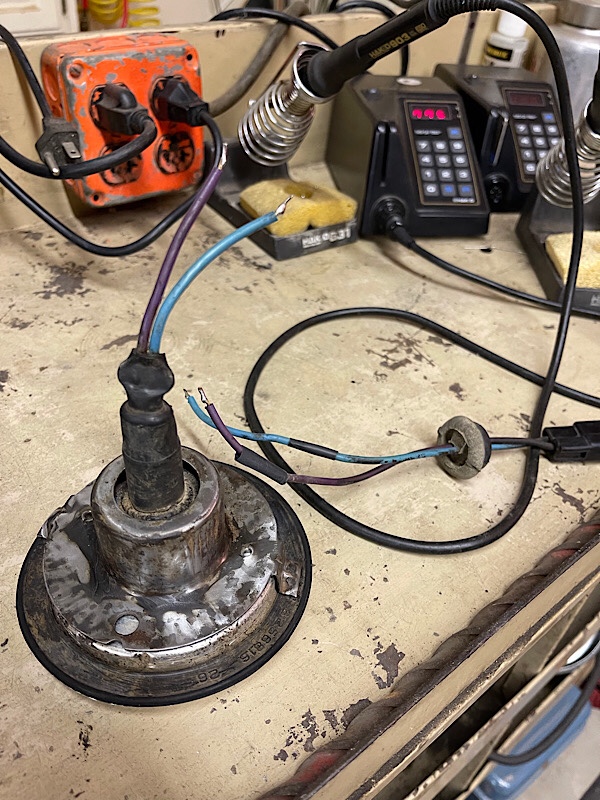
I decided to build a boom box made of material and parts I already in my Manetarium. I had a blue tooth setup that no longer held a battery charge so it was perfect to cannibalize and remove the electronics.
Most of the effort was cutting out the sections for the speaker and controller assembly.
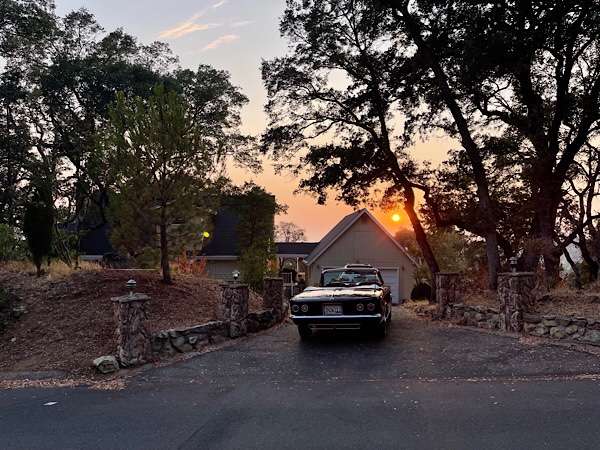
The finished look is definitely ghetto but it does fit the vibe of the 1964 Chevrolet Corvair.
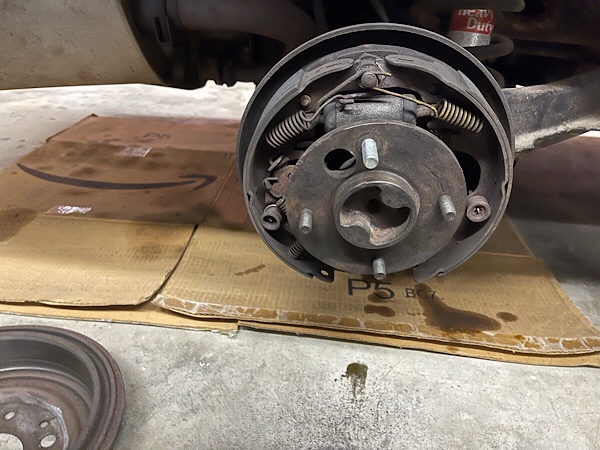
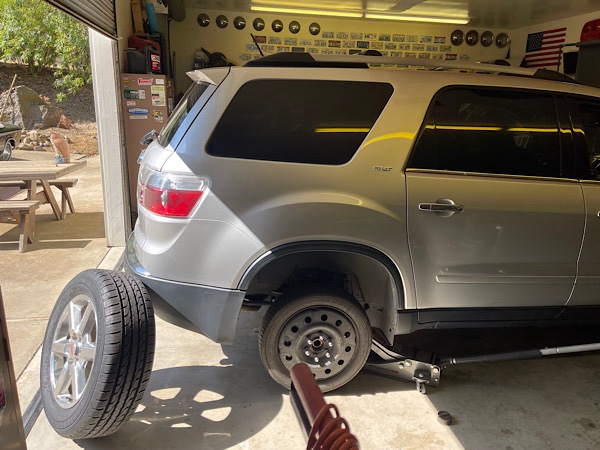
I went out for a cruise in the Corvair and when I pulled to a stop light a kid pulled next to me and said my right rear wheel was hell of wobbly.
I must admit, I didn’t perform a safety inspection when I took possession of the Corvair. If I would have done so I would have found that I was missing a lug nut. The hub only has 4 studs to begin with so not having the lug nut installed is 25% loss of securing the wheel down tight. That’s messed up.
As it turned out the reason why the previous owner did not install a lug nut was the stud was completely stripped. This made it worse since the dumb shit could have gotten someone seriously hurt. I vaguely recall the owner mentioning the car needed alignment. I assumed it was standard alignment in the front suspension.
Removing the stripped stud was fairly simple. A good sized weighted hammer and a well placed whacks popped the stud out in no time.
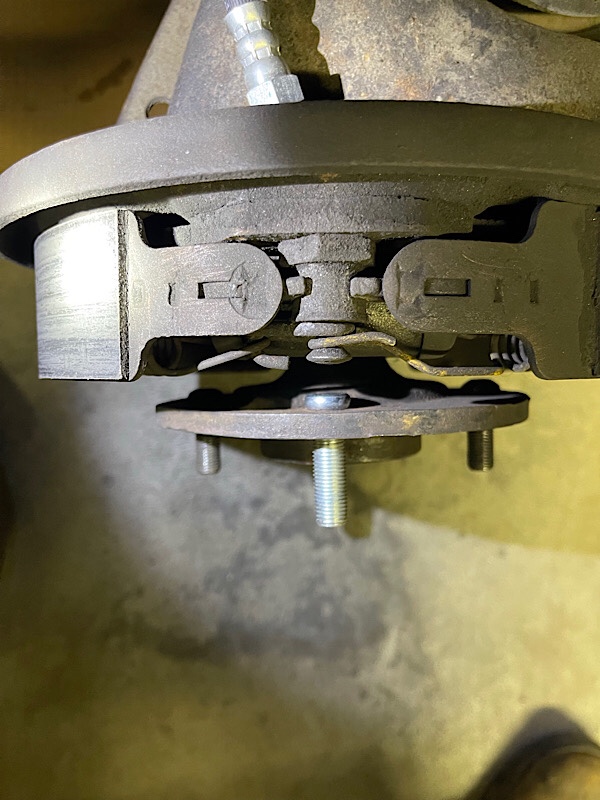
Installing the replacement 7/16-20 stud was a different matter. The documented manual procedure is to use a press to insert the stud until the knurl section has been inserted and the shoulder is flushed to the surface. This is all great if you have a standing press. Not to mention the axle has to be removed from the carrier on the transaxle assembly.
Since I don’t own a press or the fixtures to use for a stud installation I did it the old school way by using a high torque impact wrench and letting the half inch drive snap on air gun with my big 80 gallon compressor do the work. The result came out great.
I still need to confirm that the wobbles are gone by having some following me. At least I know now that all my studs are in place and the wheels are going to fly off.
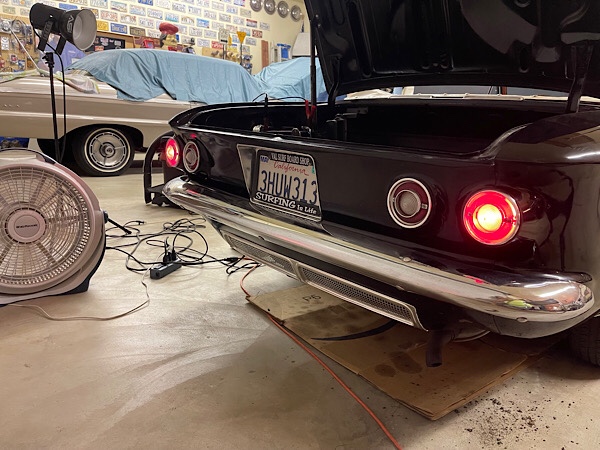
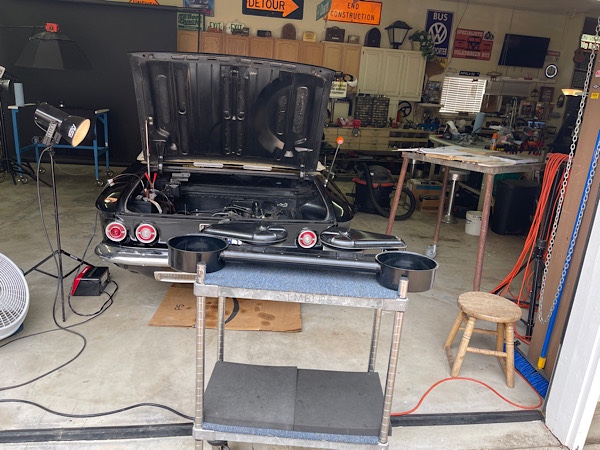
The right side tail light on the Corvair was not working at all. It would barely illuminate and the 1157 style light bulb wouldn’t securely stay in place. The bucket removal itself is sort of tricky. Even though service manual gives the impression that removal is done by removing two base screws.
To remove the bucket assembly the two base screws need to be loosened and not actually removed. Once there is enough play to move and rotate the assembly you can line up two tabs to the access cutouts. This allows you to pull out and free the part.
Before reinstalling use a wire brush to clean out the bucket outer rim and the mating section of the cars tail light mounting hole.
I made contact with one of the local Corvair Clubs and made arrangements to purchase a couple of buckets with the hope of piecing one functioning part.
The couple parts I got were not in good condition. I really had to use a wire brush to remove the heavy grime due to years of buildup. I lucked out and one of the buckets bulb receptacle still had functioning retracting pin contacts. The issue with my original bucket bulb socket were seized pins. This meant there was no way to have a bulb inserted into the slots.
I will eventually have to replace both rear tail lights as the grounding on these parts go bad in time. It was the poor grounding that caused the lower illumination, I could get full lighting power if I physically pressed on the assembly securing a proper ground.
I can keep trying to fight nature and constantly clean the housing and bucket mounts but a new set will make it painless and more reliable in the long run.
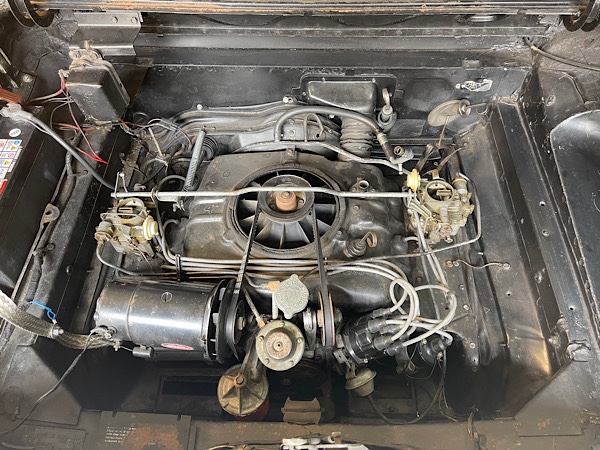
Today I went on a search and fix vacuum leak mission.
I’ve had this issue when driving the Corvair for longer durations and hot ambient temperatures the idle RPM would drop so low the generator light would begin flickering.
I found a couple of areas where the vacuum hoses were flared out at the ends. This decreased the seal around the rubber hose ID and carburetor fittings.